Label Studio
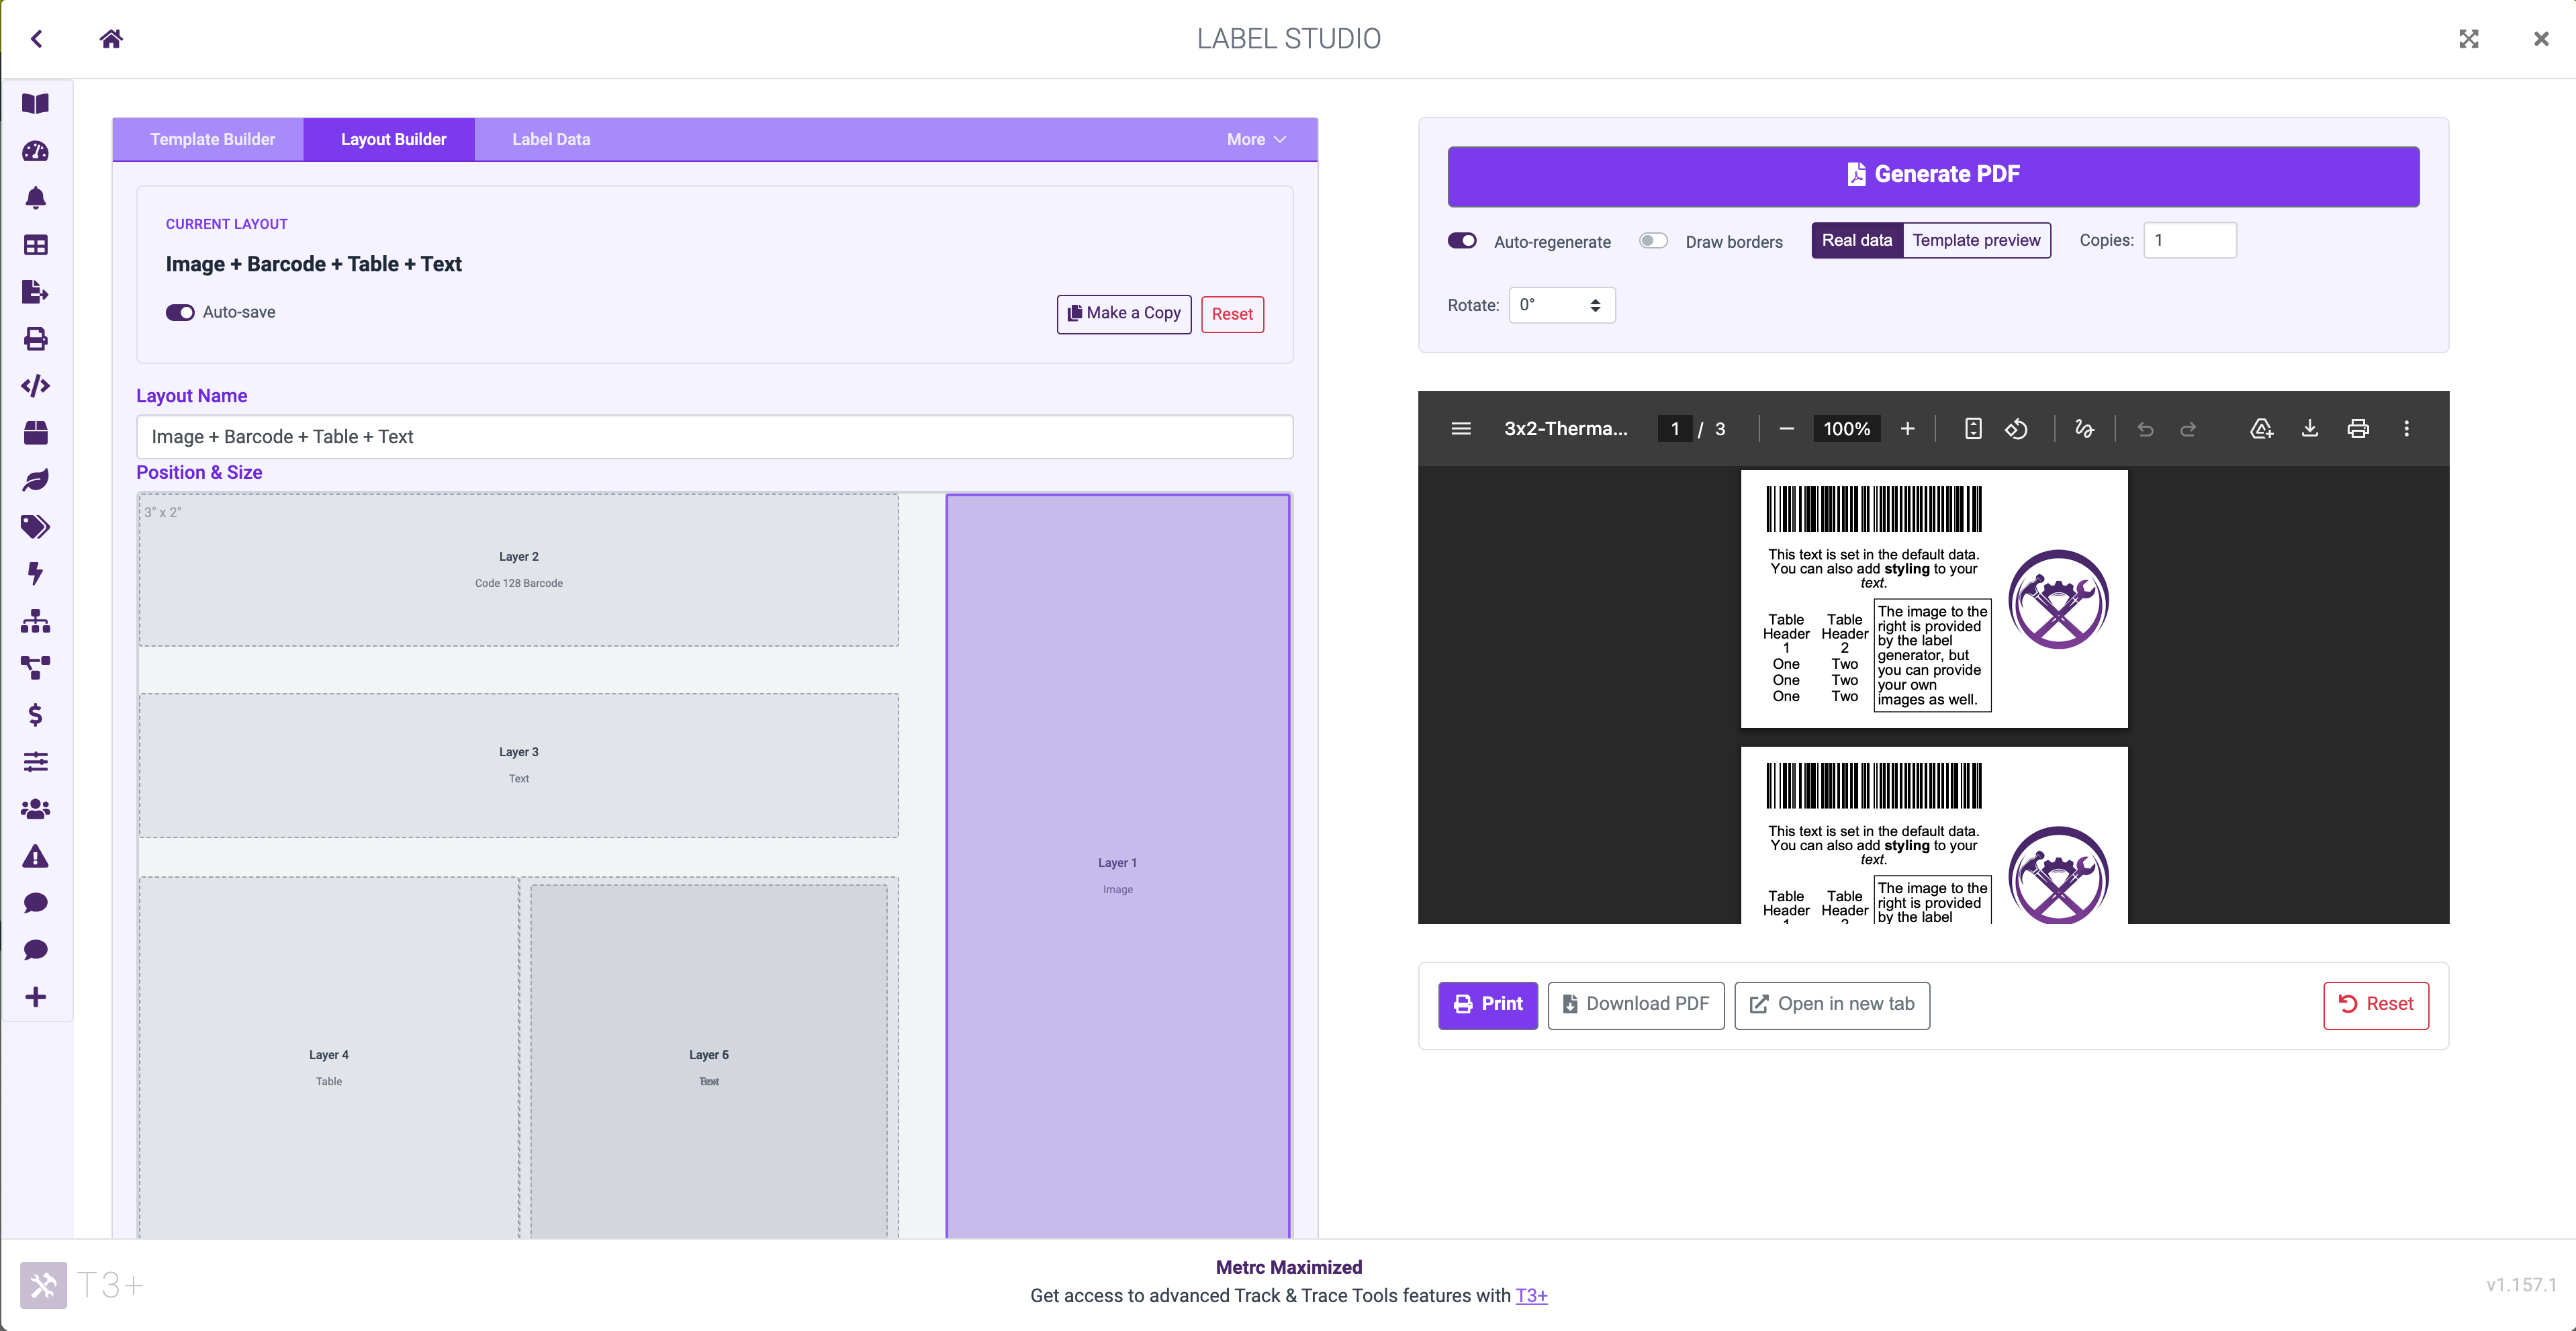
The Label Studio workspace
Introduction
The T3 Label Studio is the visual label builder inside the T3 Chrome Extension. It lets you design a label, fill it with Metrc data, preview the result, and download a print-ready PDF without writing any configuration by hand.
Everything the Label Studio produces is ordinary T3 Labels configuration. The Studio is a front end over the same label generation API you can call directly, so any label you build here can be reproduced from a script, and any configuration you already have can be loaded into the Studio to keep editing visually.
This page is a reference for the interface. If you would rather follow a guided build from scratch, start with the T3 Label Tutorial.
T3 Free is a preview
T3 Free users can open the Label Studio and explore it, but Metrc data cannot be loaded and every generated label is watermarked. Design work still works, starter templates, demo data, and the full layout editor are all available. A T3+ subscription removes both restrictions.
Opening the Label Studio
- Log in to Metrc with the T3 Chrome Extension installed.
- Open the T3 menu and choose Label Studio. It is also reachable from the Print button in the floating button menu, and from the tags builder list.
Two buttons get you started:
- SHOW ME AN EXAMPLE loads a complete working label so you can see how the pieces fit together.
- START FRESH clears everything and gives you a blank 3x1 thermal label to build on.
The Workspace
The Studio is split into a set of tabs on the left and a live PDF preview on the right. The right column stays fixed while the left column scrolls, so the label you are looking at never leaves the screen.
Three primary tabs carry the main workflow and are always visible:
| Tab | Purpose |
|---|---|
| TEMPLATE BUILDER | The physical label: its size, padding, and how labels are arranged on a page |
| LAYOUT BUILDER | What is printed on each label |
| LABEL DATA | The list of records to print, one label per record |
Everything else lives behind a More dropdown to the right of them, which renames itself to whichever of these you have open:
| Tab | Purpose |
|---|---|
| My Templates | Templates you have saved |
| My Layouts | Layouts you have saved |
| Default Data | Values shared by every label |
| Built-in Data | Text and images T3 provides under the t3. namespace |
| Images | Your own uploaded images |
| Settings | Copies, rotation, and printer tuning |
| Quick Print | Defaults used by one-click printing elsewhere in T3 |
| Import/Export | Move a whole configuration to or from a file |
| Debug | Raw configuration, for troubleshooting |
The dropdown also links to the label tutorial and to this documentation.
Most tabs open with a short help card explaining what that tab is for. Dismiss them individually as you learn your way around, or turn all of them off with Show Help Information Cards in Settings.
Status Icons and Validation
Each of the three primary tabs carries a status icon showing whether that piece of the configuration is currently valid. Five things are checked continuously:

Tab status icons
- the template
- the layout
- the label data list
- the default data
- your uploaded images
GENERATE PDF is enabled only when all five are valid. When one is not, the right column names the first problem and tells you what to do about it, and the tab icon points you at where to fix it. This is why a broken label is usually caught before you generate rather than after, the exception being errors that only the renderer can find, covered in When Generation Fails.
Settings
| Setting | What it does |
|---|---|
| Copies | How many copies of each label to generate |
| Reverse print order | Thermal printers print labels sequentially, but the spooled order is reversed (last to first). Enable this to print labels in the same order as they appear in the PDF. |
| Rotation | Degrees to rotate the layout. 90 prints sideways. |
| Barcode bar thickness | Adjust if you are using a low-DPI printer and printed barcodes are too thick or unscannable. Higher means thicker bars. 1.0 suits most thermal printers. |
| Label margin thickness | Adjust if your printer has trouble printing the exact center of labels. Higher means thicker margins. 1.0 suits most thermal printers. |
| Debug | Enables rendering debug output, the same element borders as Draw borders |
| Show Help Information Cards | Shows or hides the help cards in each tab |
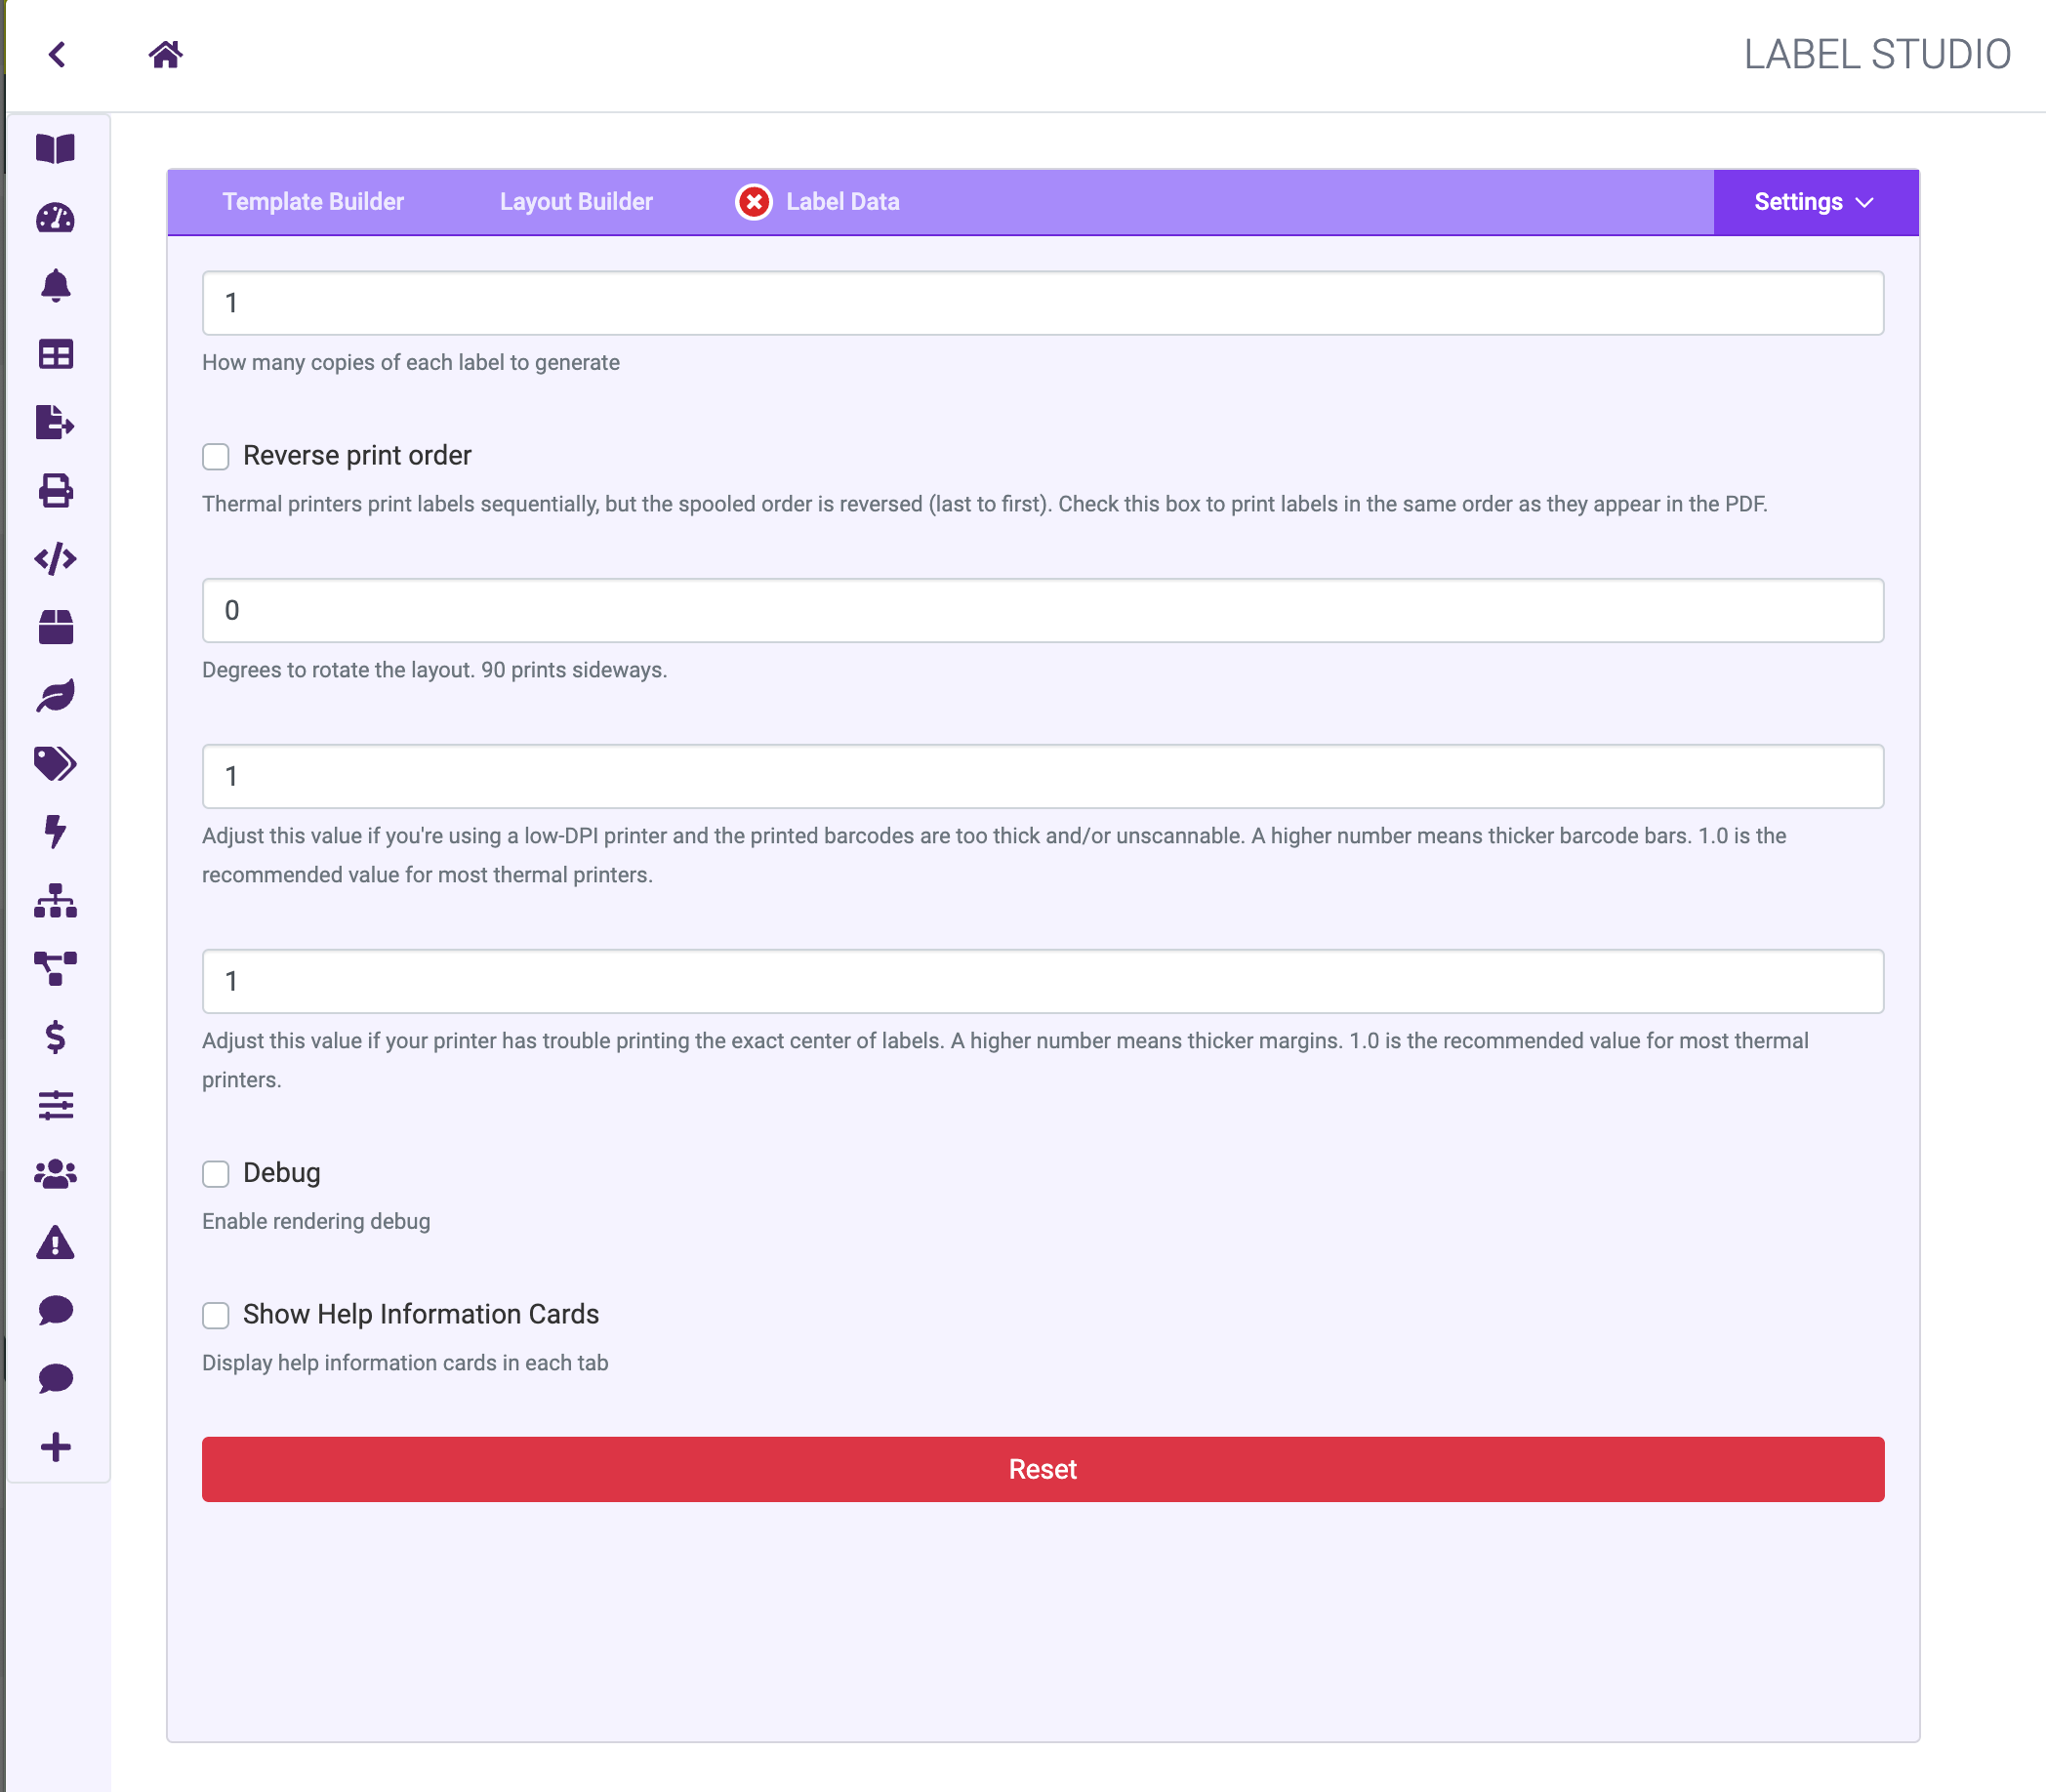
The Settings panel
These map to the rendering options documented under Settings.
The tab also has a RESET button that returns the entire Studio (template, layout, data and settings) to its defaults.
Quick Print
Elsewhere in T3 you can print a label for a package, plant or plant batch in one click, without opening the Studio at all. The Quick Print tab sets what those shortcuts use:
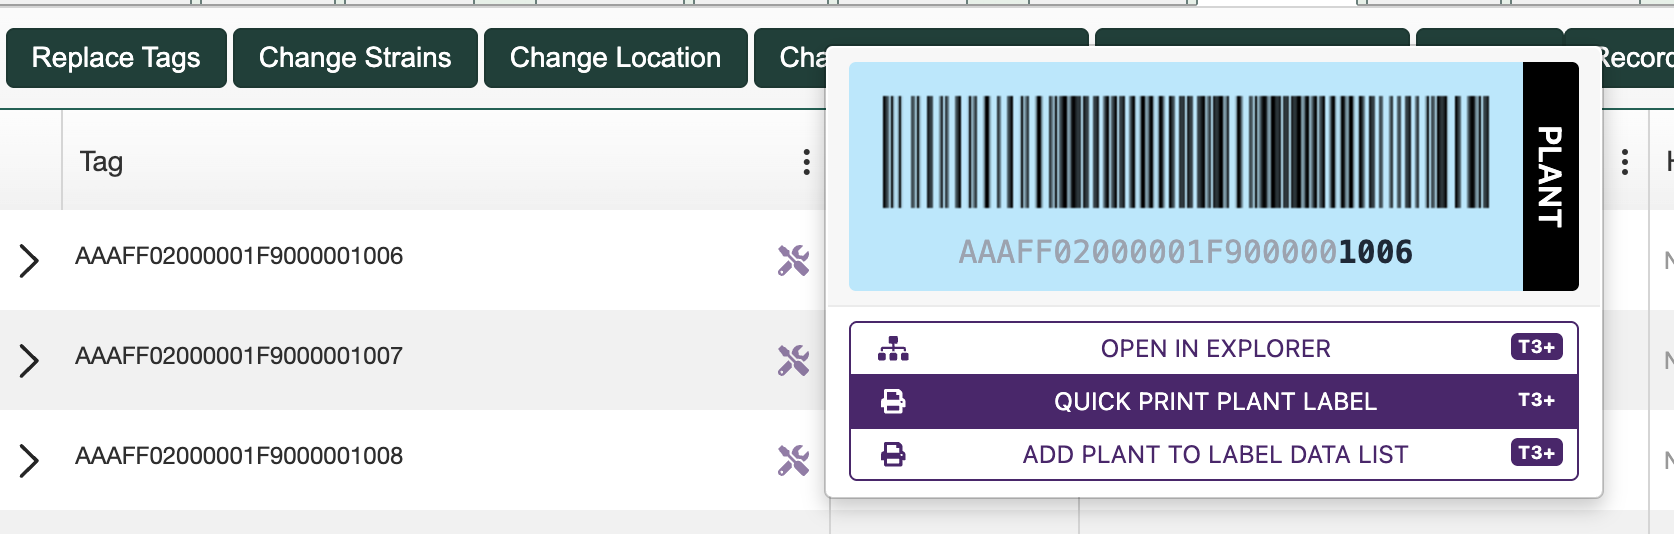
Quick Print
- Quick Print Template: the label stock, shared by all three
- Quick Print Package Layout
- Quick Print Plant Layout
- Quick Print Plant Batch Layout
A separate layout per object type means a plant tag can differ from a package label while both print in one click. These are read by the package, plant and plant batch context menus.
Import and Export
Import/Export writes your Studio configuration to a single file and loads it back. It is the way to move a design somewhere the saved template and layout lists do not reach: to another account, to a colleague, or into a file you keep alongside the rest of your work.
Six parts can be included independently:
| Part | What travels with it |
|---|---|
| Template | Label size, padding, and the page arrangement |
| Layout | Every element on the label, including its value templates |
| Label Data | The record list currently loaded |
| Default Data | The shared and fallback values |
| Images | Your uploaded images, embedded in the file rather than referenced |
| Print Settings | Copies, rotation, barcode and margin tuning |
The same six checkboxes drive both directions, which is what makes partial transfers work. Export everything once, then import only the parts you want:
- Send a design to a colleague by exporting Template, Layout and Images, and leaving Label Data out so your records do not travel with it. Ticking Images matters here: uploads live in your browser, so a layout that references one arrives without it otherwise.
- Copy printer tuning between facilities by exporting Print Settings alone, once you have dialled in barcode thickness and margins on a given printer.
- Keep a checkpoint before a large change by exporting everything, since an import can put any subset back.
IMPORT is a file picker accepting .json or .txt. EXPORT writes a file named by the Export filename box, which carries a .txt suffix.
Import and export are not the same as saving. Saving a template or layout keeps it in your account and lists it under My Templates or My Layouts; exporting produces a file that leaves T3 entirely.
Debug
Debug shows the raw configuration behind the Studio: the save state of the current template and layout, the generated PDF's location, the validation status of each piece of configuration, and the serialized value of every field. If you are asking for help with a label, the contents of this tab are the most useful thing to share.
Next Steps
- Set up your label medium in Template Builder.
- Arrange what appears on the label in Layout Builder.
- Pull Metrc records in with Label Data.
- Produce the PDF in Saving and Generating.
- New to the Studio? Work through the Tutorial.