Click the LABEL DATA tab to reveal the label data source tab.
In T3, printing labels involves printing a list of data entries. It could be a list of package data, or a list of empty objects containing nothing at all.
Sometimes the data list is a list with only one data entry. You might use this if you only want to print a single label.
Sometimes the data list entries are empty. You might use this if all the labels are exactly the same.
These are all valid in T3, as long as it is a list of data entries.
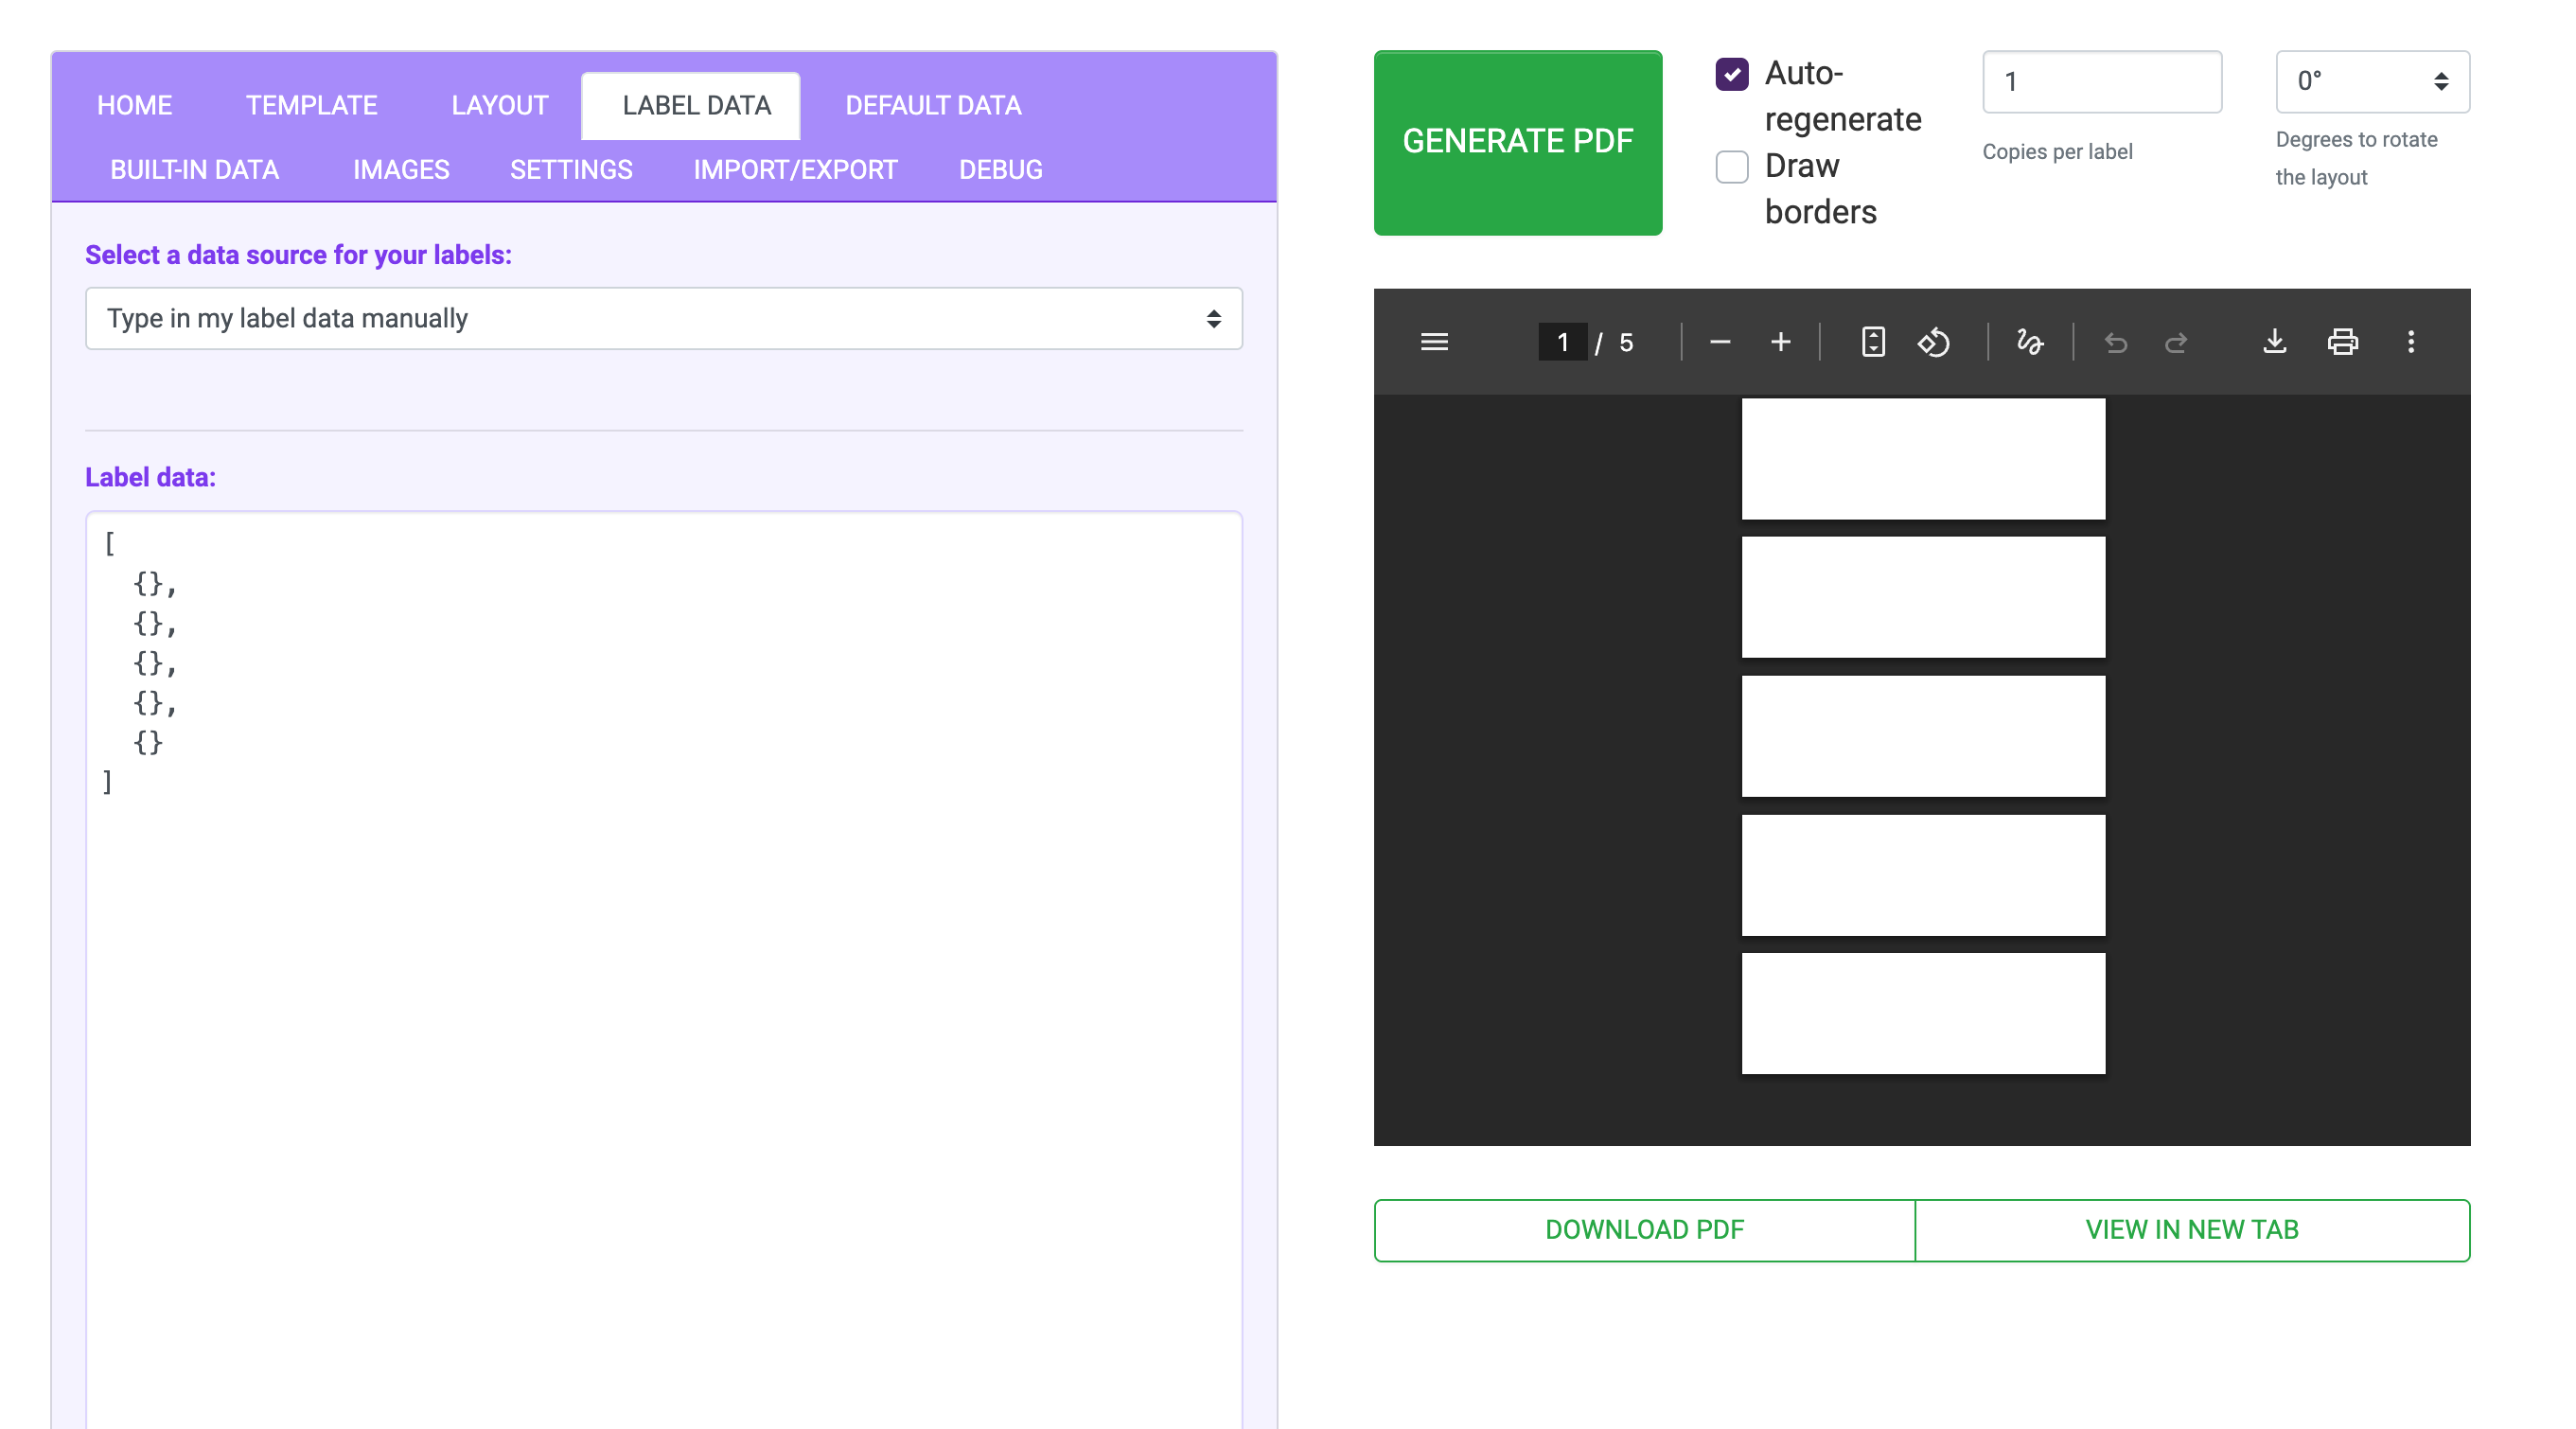
When you clicked START FRESH, it set the label data to the following:
[{}]
This is an example of a single empty data entry. T3 understands that this single empty data entry corresponds to one empty label.
If you wanted five empty labels, you'd use five empty data entries:
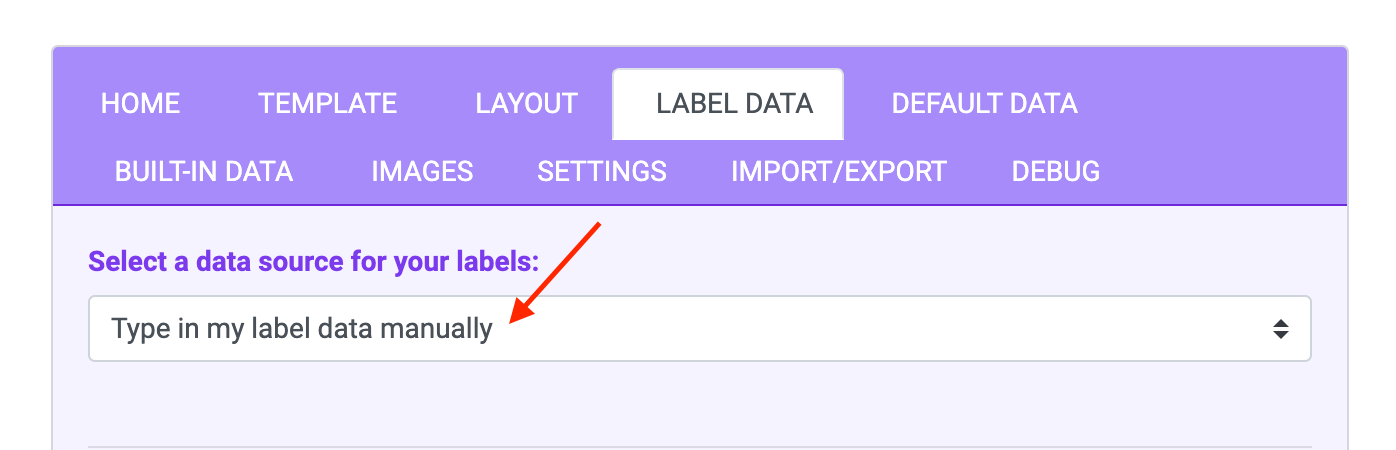
In the Label Data tab, there's a dropdown for data sources:
Label data source selector
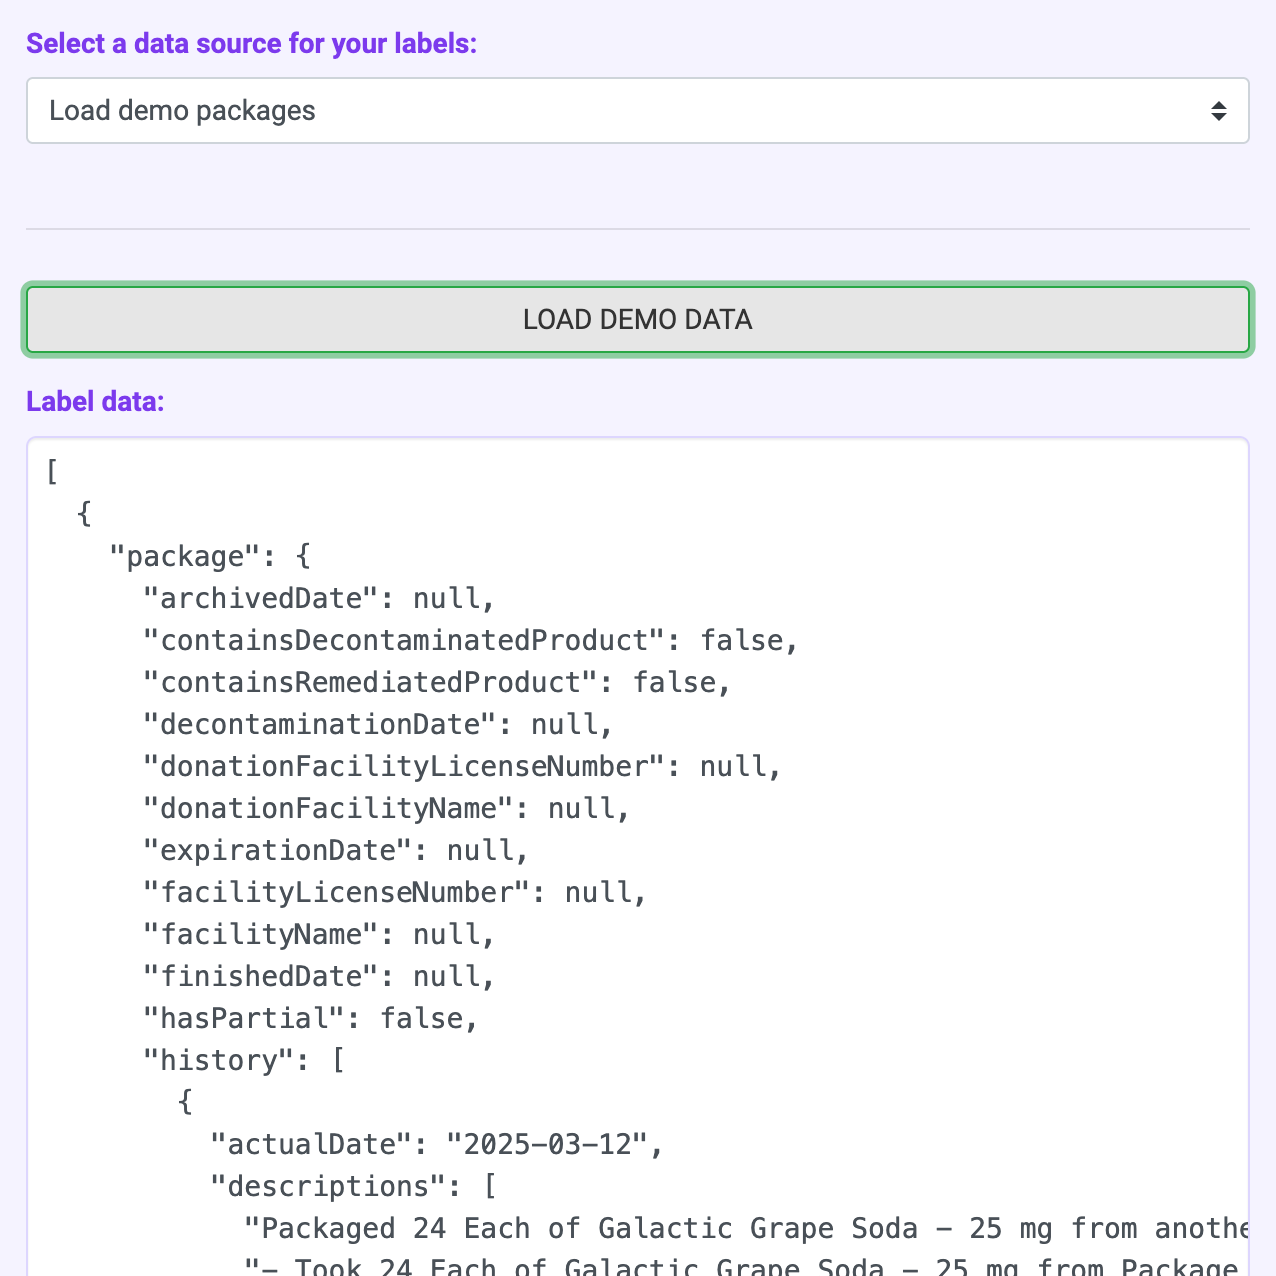
For this tutorial, we'll use the demo packages. Select Load demo packages from the data source dropdown, and then click LOAD DEMO DATA. The demo package data will populate below it after a moment.
Populated demo package data
This data source loads 10 demo packages into your data list.
After the PDF regenerates, you'll notice there are now 10 identical copies of your label (one for each data list entry).
Data sources are the different ways you can populate your data list.
Examples:
Manual data entry
Load data from a CSV
Use demo data.
Load data collections directly from Metrc (T3+ only).
Let's display each demo package's tag number on the corresponding label.
Return to the LAYOUT BUILDER tab and find the Text element we created, which currently displays 0123456789 on all labels - delete this.
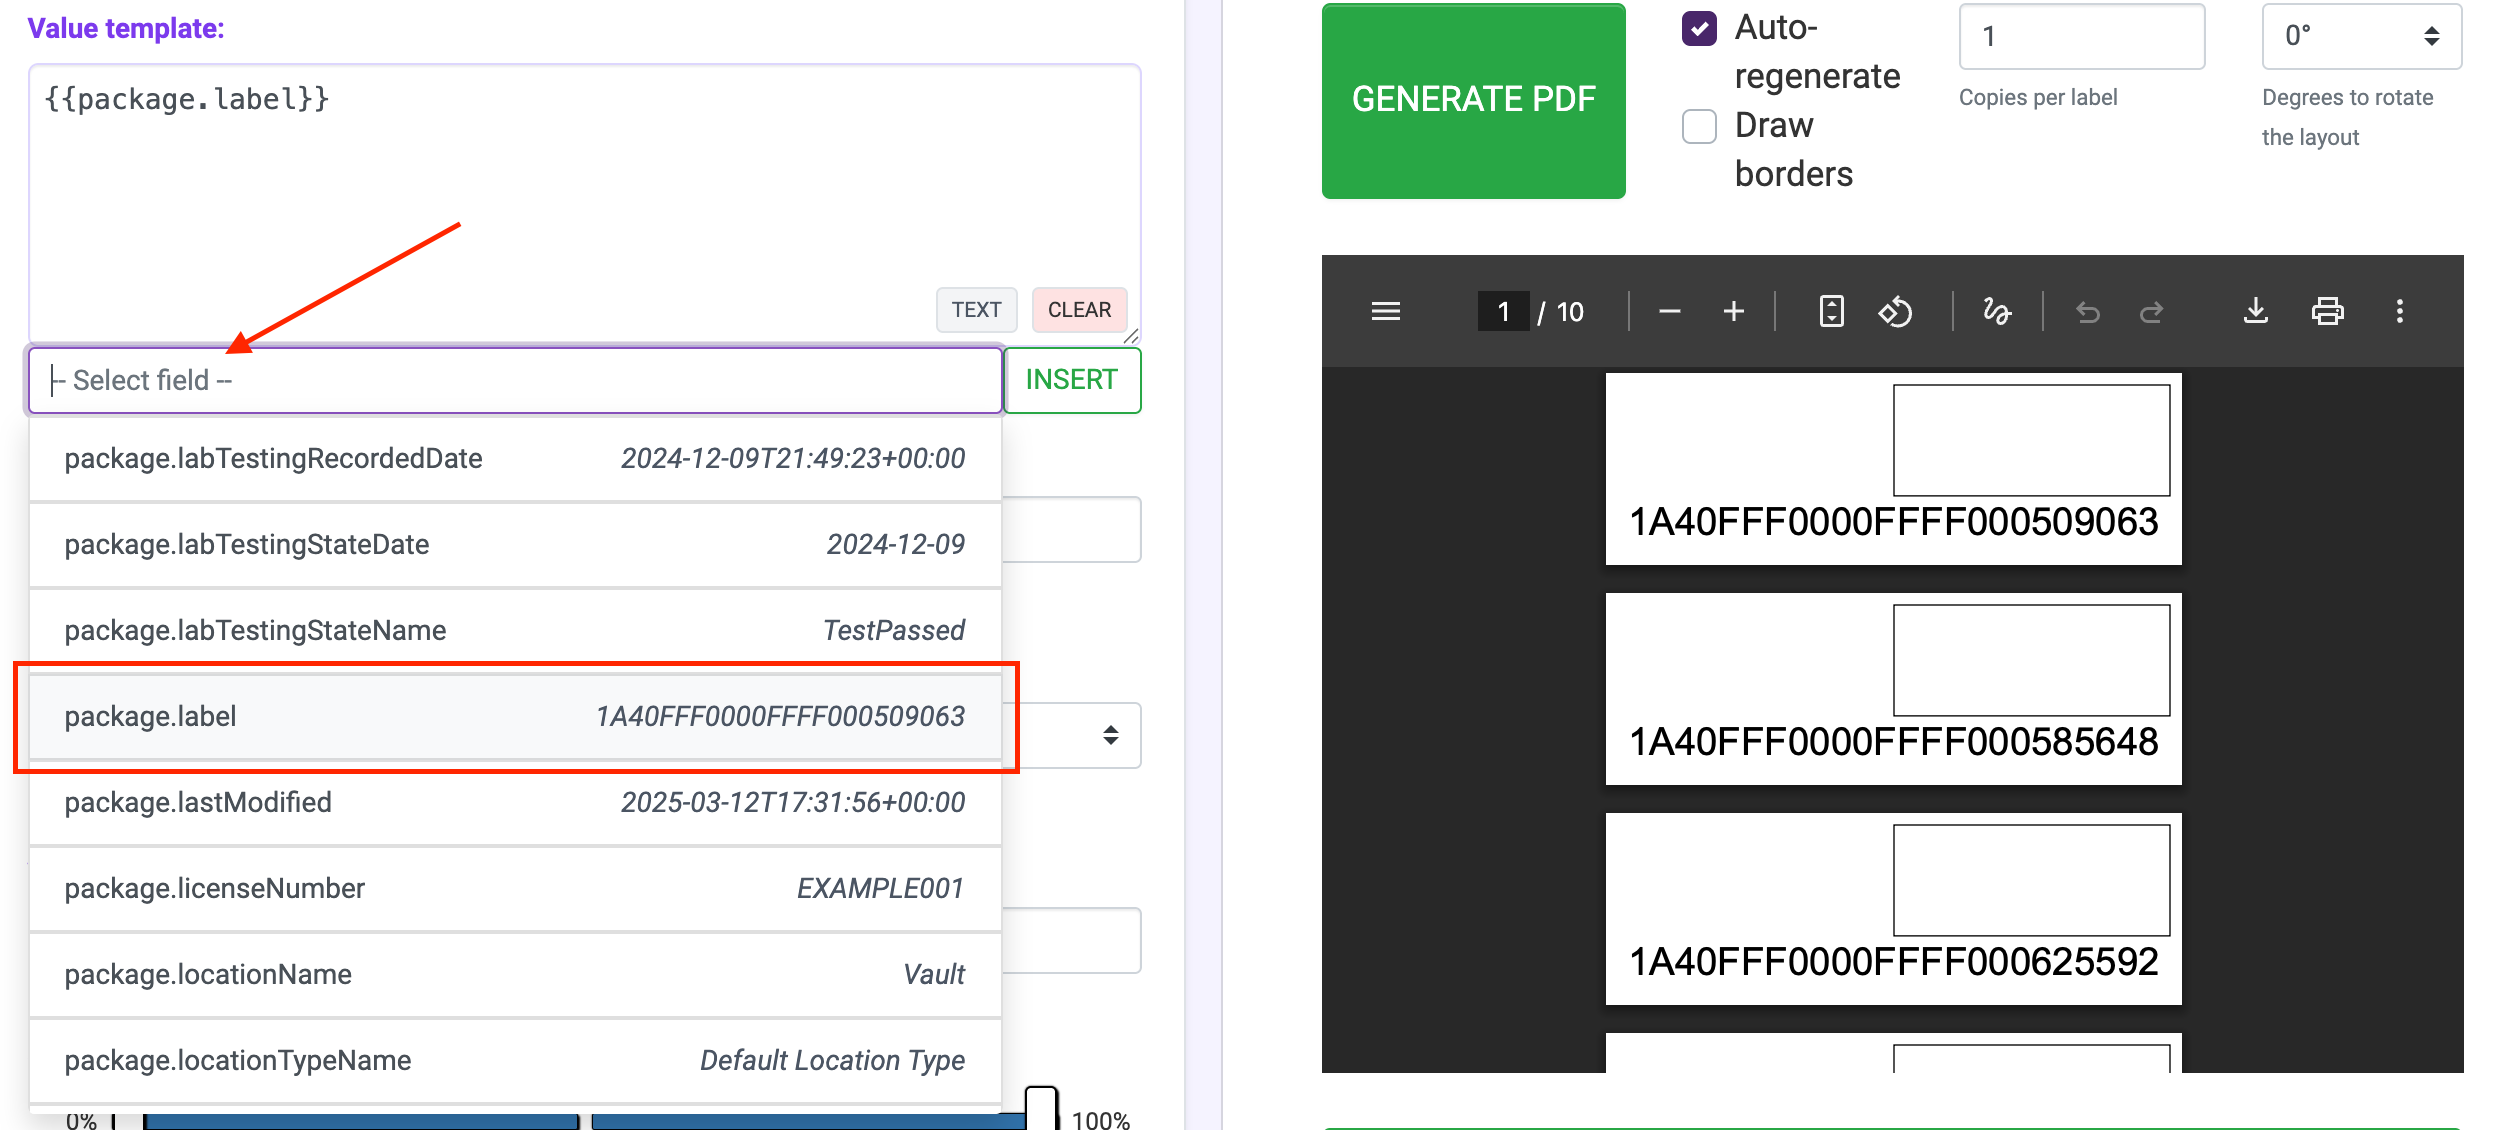
A much simpler way of adding this value is to use the field lookup. The autocomplete field below the Value template allows you to search for any available field names, and displays an example value on the right. Selecting a value and clicking INSERT will auto-add it to the value template with brackets pre-added.
Finding data values via field autocomplete
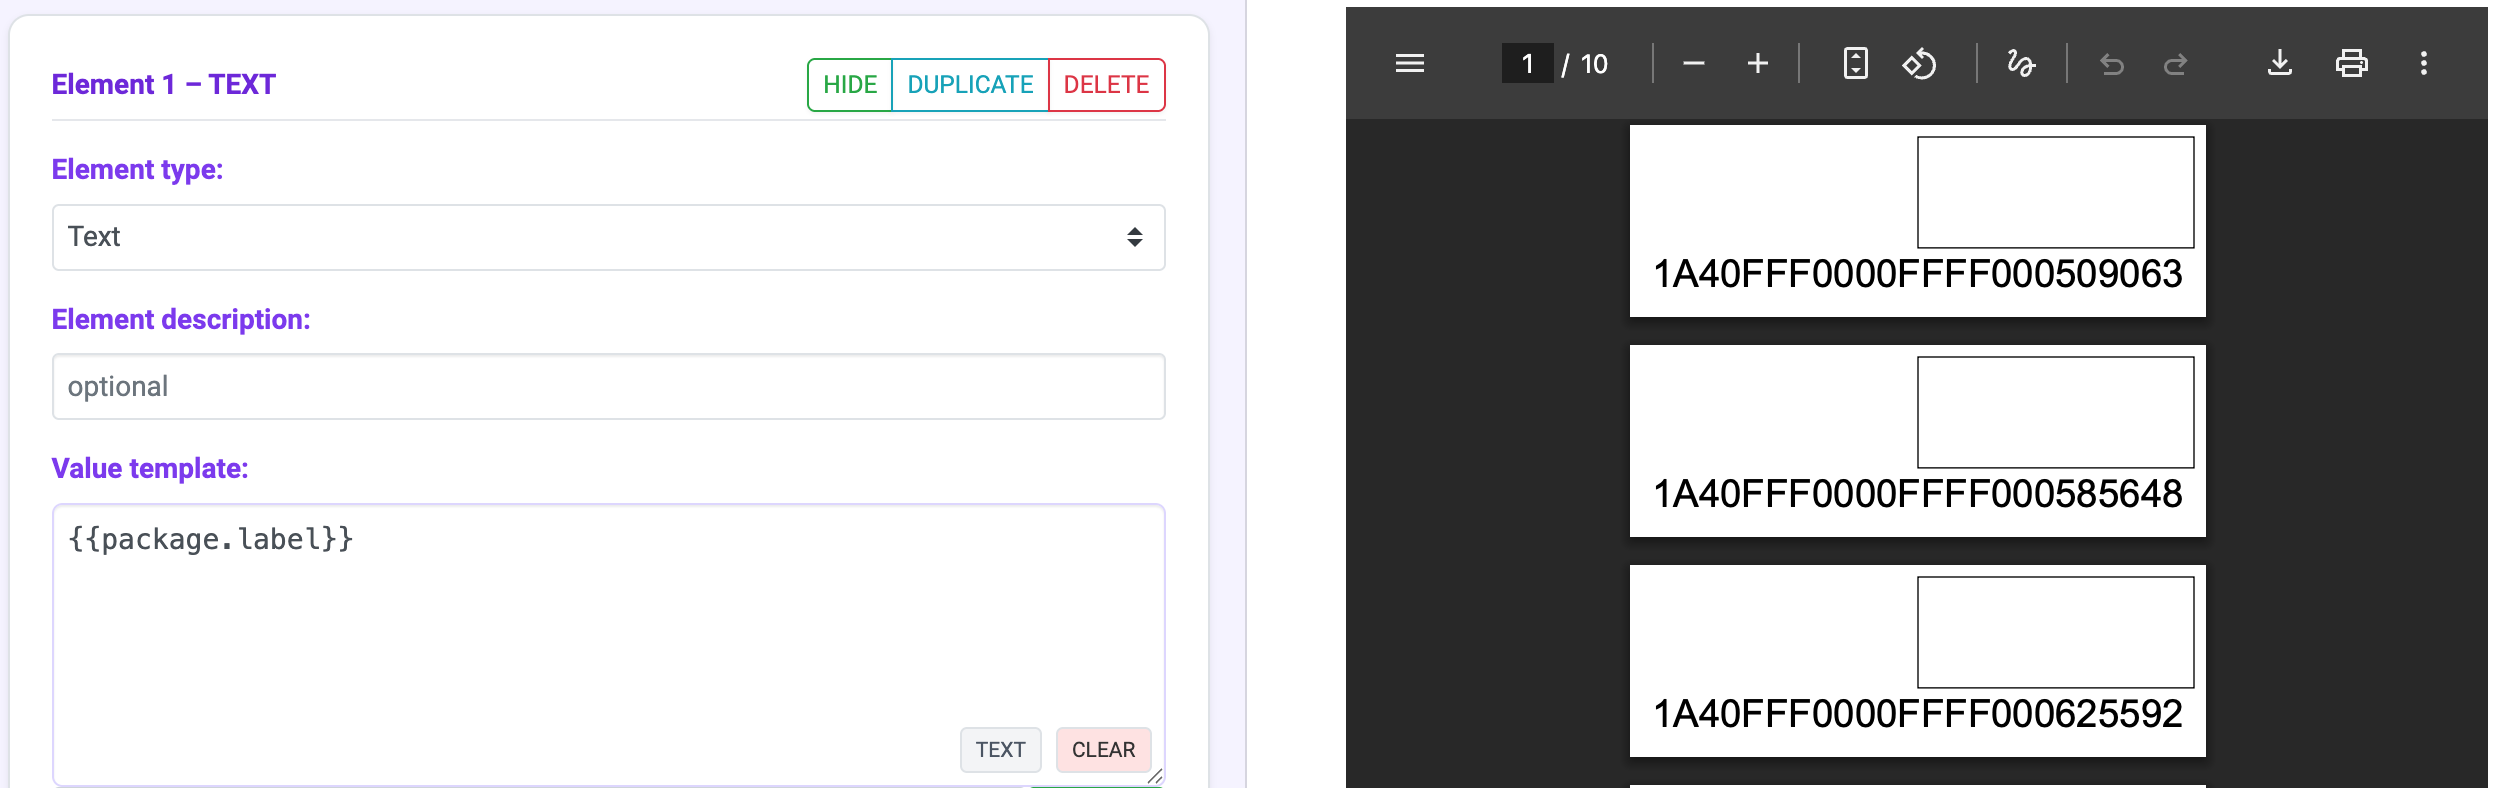
The label PDF will update to show each unique package label:
Populated demo package data
Some layout elements like Text use a value template to decide what is shown in that element.
When we entered 0123456789, this instructs T3 to show exactly that value in every label.
When we entered {{package.label}}, this instructs T3 to inject the label value in the package entry in the data list.
The {{ }} (sometimes called mustaches) tell T3 to inject a value. This injection is done via Jinja syntax.
If we look into the data list, we can see the overall structure is:
It's useful to understand how to interpret and troubleshoot T3 Label Studio errors, but this section can be skipped.
Let's force the T3 label generator to return an error to practice troubleshooting.
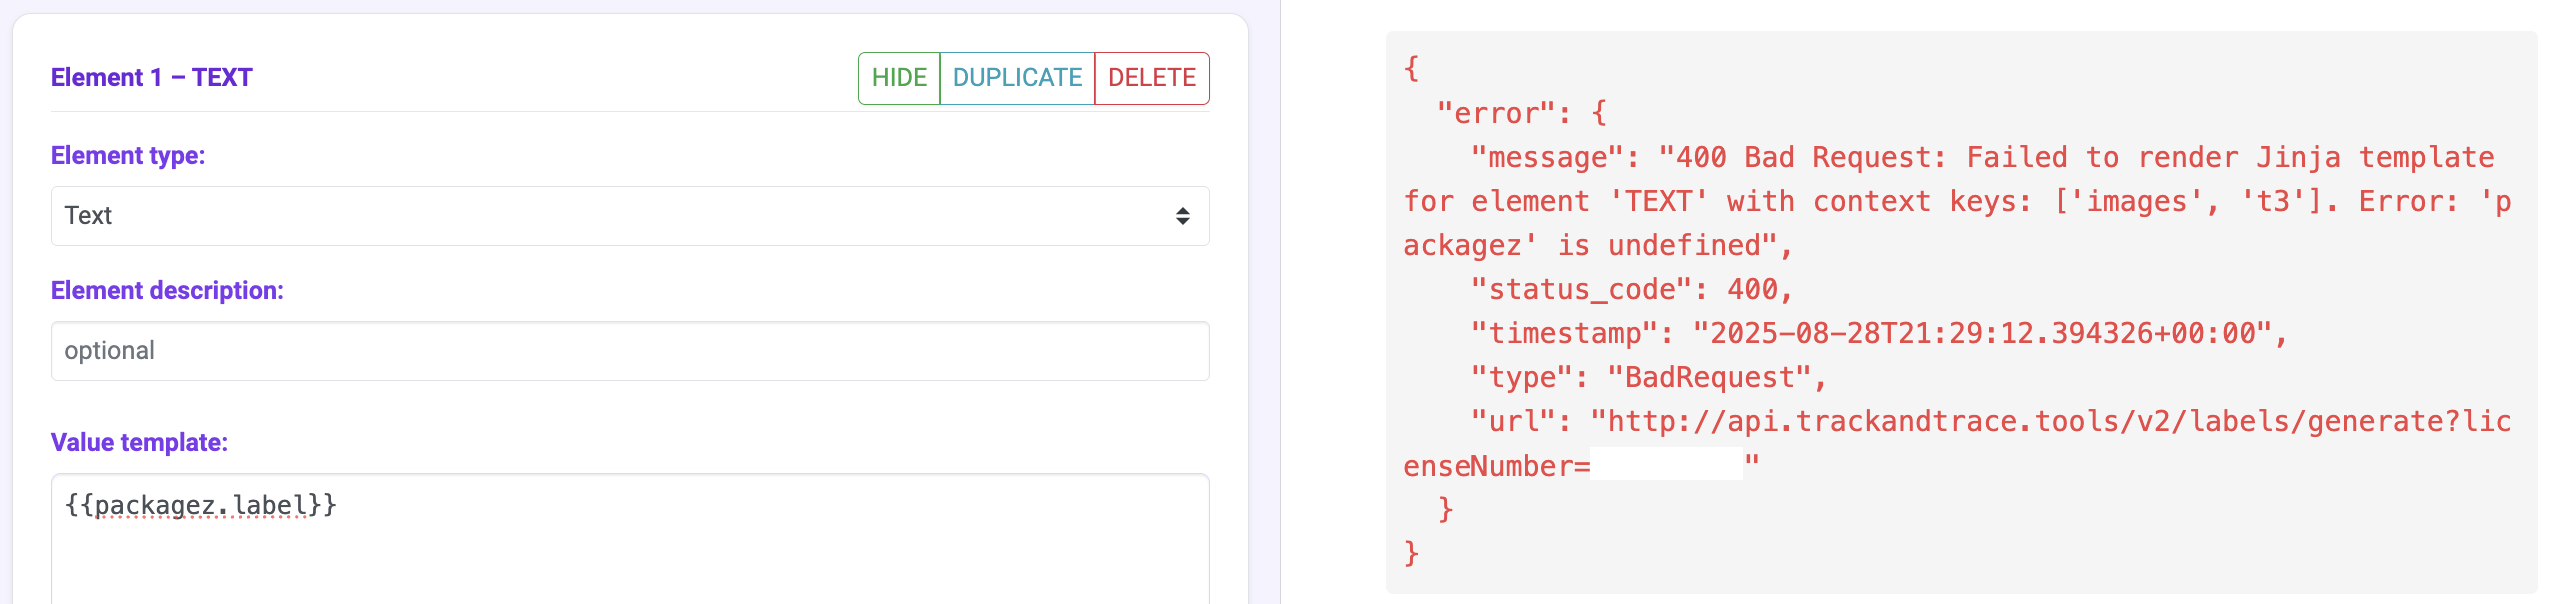
Change the Value template to an intentionally mistyped one: {{packagez.label}} to see what we get back:
T3 label error message
Your error message will look something like this:
{"code":"LABEL_TEMPLATE_ERROR","title":"Label Template Error","status":400,"detail":"1 template problem across 3 labels. element[2] 'Package Label' (TEXT) line 1, 'packagez' is undefined","type":"https://api.trackandtrace.tools/errors/LABEL_TEMPLATE_ERROR","instance":"https://api.trackandtrace.tools/v2/labels/generate?licenseNumber=EXAMPLE0001","timestamp":"2025-08-28T21:29:12.394326+00:00","errors":[{"elementIndex":2,"elementType":"TEXT","description":"Package Label","line":1,"sourceLine":"{{packagez.label}}","expressions":["packagez.label"],"message":"'packagez' is undefined","didYouMean":["package"],"occurrences":3,"firstLabelIndex":0}]}
The errors array is where the useful detail lives. Reading it back:
elementIndex and description identify which element of your layout failed, important once a layout has several TEXT elements.
line and sourceLine point at the exact line of that element's value template.
didYouMean suggests package, which is what we meant to type.
occurrences says all 3 labels hit this, and firstLabelIndex says the first was label 0. If a problem only affected one row of your data, this is how you would find it.
Note that detail restates only the first problem. If several elements are broken, every one of them appears in errors; you do not have to fix them one at a time.
Fix the Value template before proceeding.
Tip: a misspelled variable is caught here because we asked for packagez.label, reading a property off something undefined is always an error. A bare {{ packagez }} would instead render as blank with no error at all. Set strictTemplates in your rendering options to catch those too. See Missing Values.
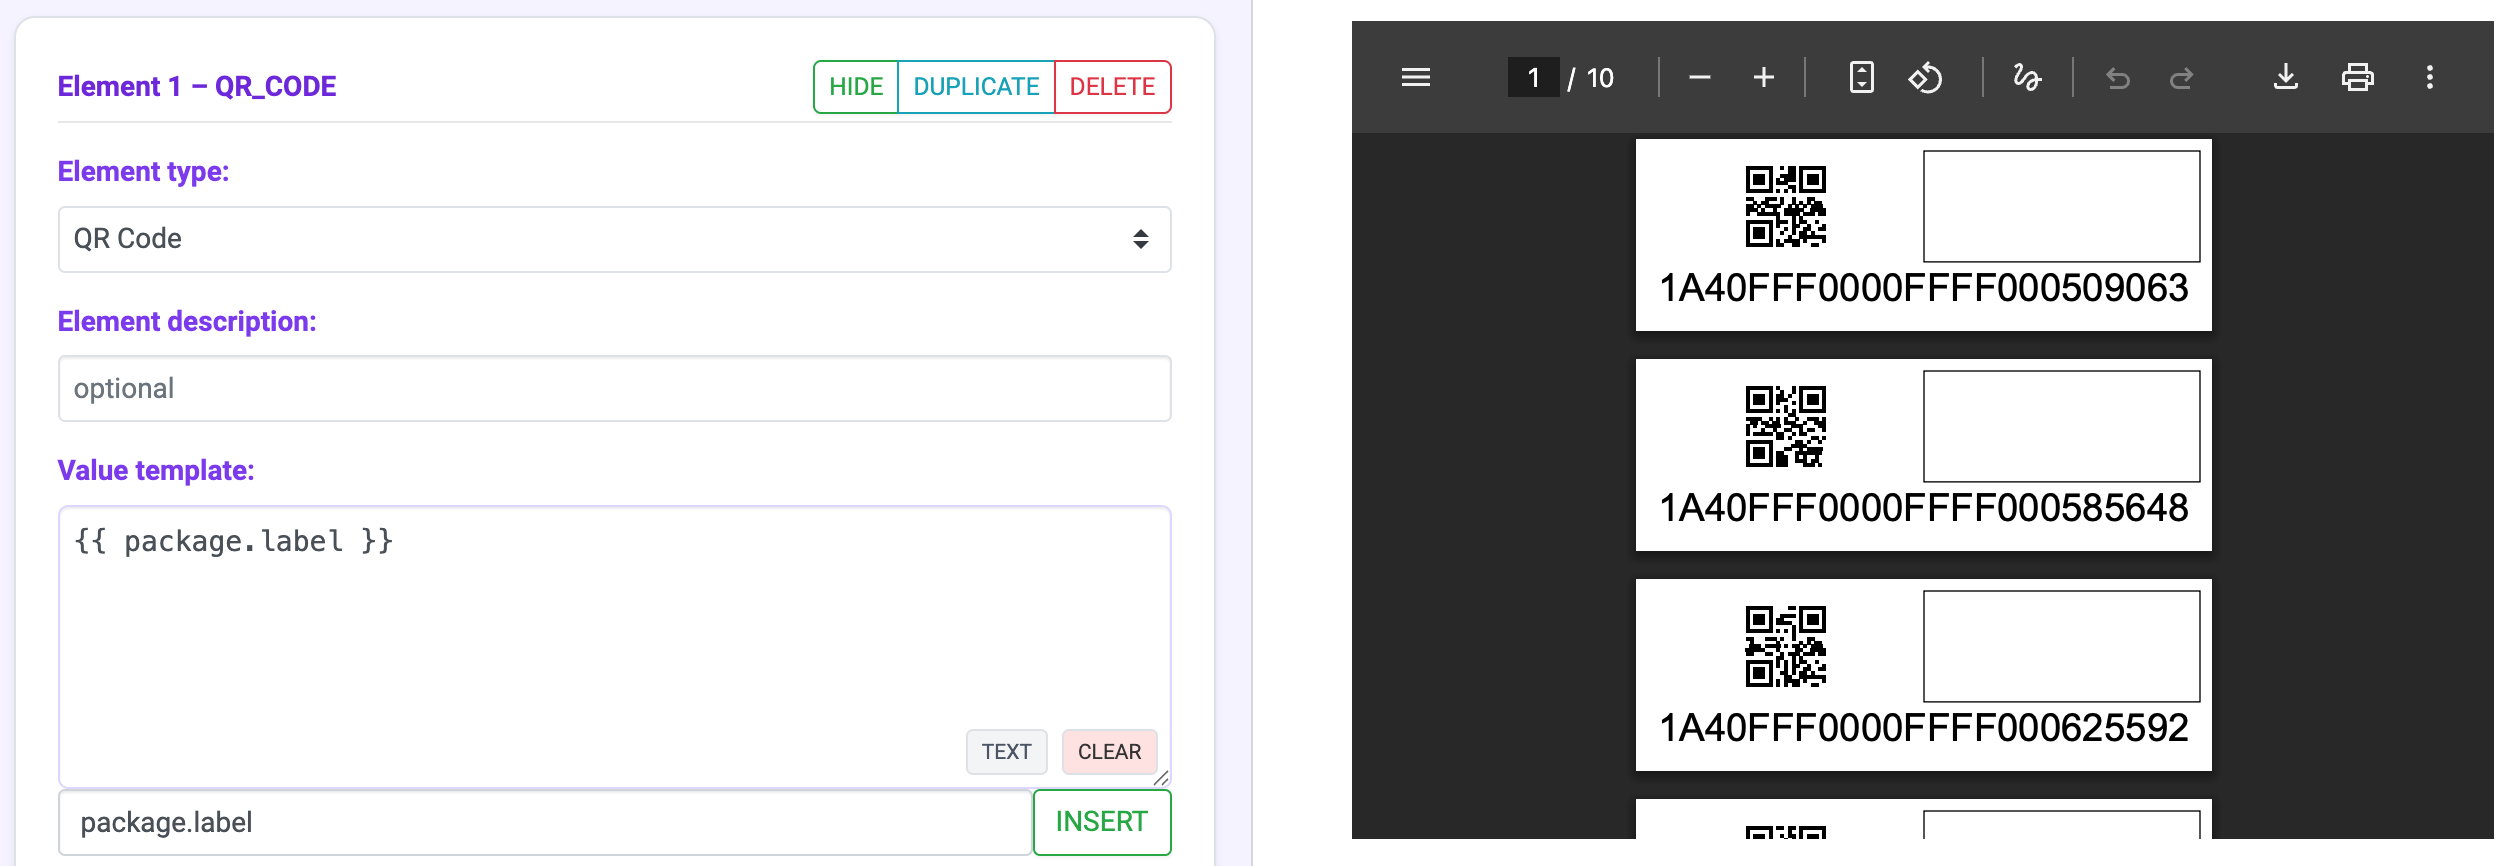
Click the + button at the top of the layer stack and choose QR Code
Set X Start to 0% and X End to 50%
Set Y Start to 0% and Y End to 66%
Set Value template to {{package.label}}
When the PDF regenerates, you should see a QR code in the top-left of your label. Use your phone to scan this QR code, you should see the package label appear.