Building a Layout
Click the LAYOUT BUILDER tab to reveal the layout builder.
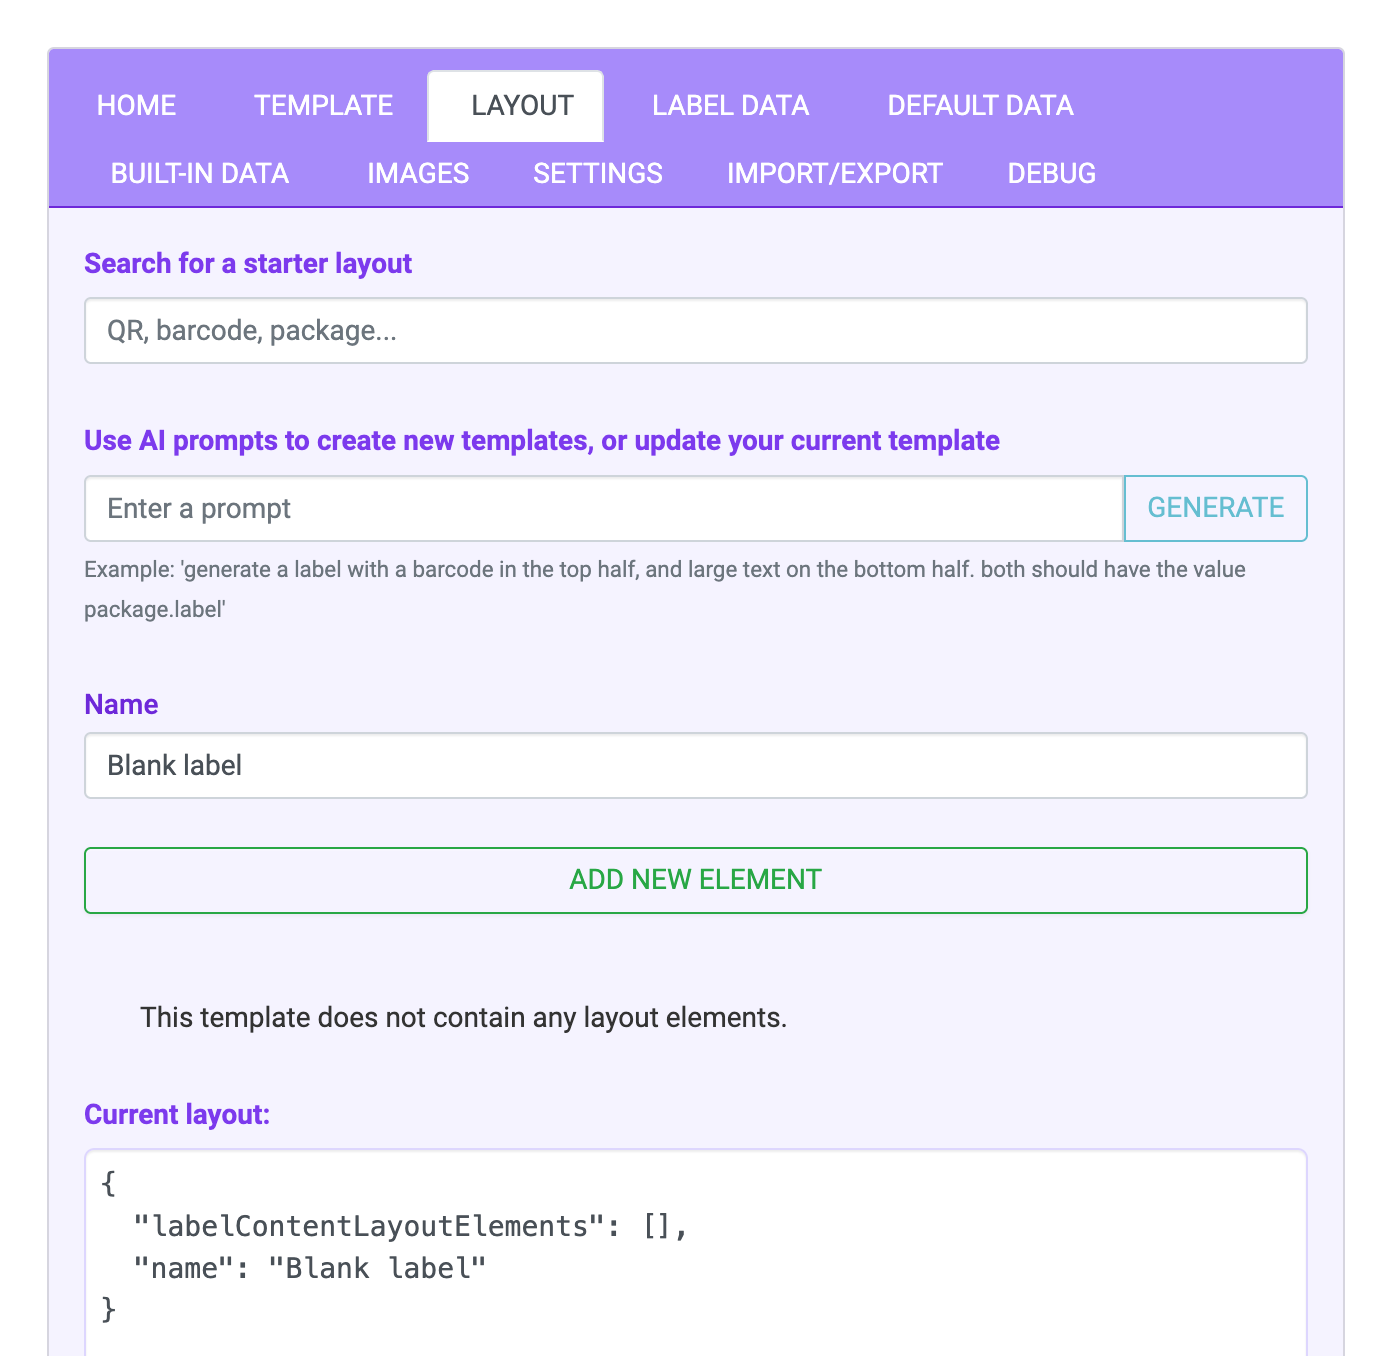
The layout builder will look very similar to the template builder.
- Templates and layouts both can use a starter value
- Templates and layouts both can be built with AI prompts
- Templates and layouts both are saved independently, from their own cards
Layouts and Layout Elements
A layout controls what appears on the label and how it is laid out. Each layout is made up of a list of layout elements.
Like templates, layouts can be saved and reused later. Click Make a Copy on the layout card and name your copy Tutorial label
Layout elements are a list of elements that are all stacked on top of each other.
Examples of layout elements:
- Images
- Barcodes
- Text
- Tables
- Boxes
The list of elements is called the layer stack. Elements later in the stack are drawn on top of earlier ones, and you can drag a layer by its grip to reorder it.
Let's start by adding a box to get a feel for how layout elements work. Click the + button at the top of the layer stack and choose Box to add it to our layout.
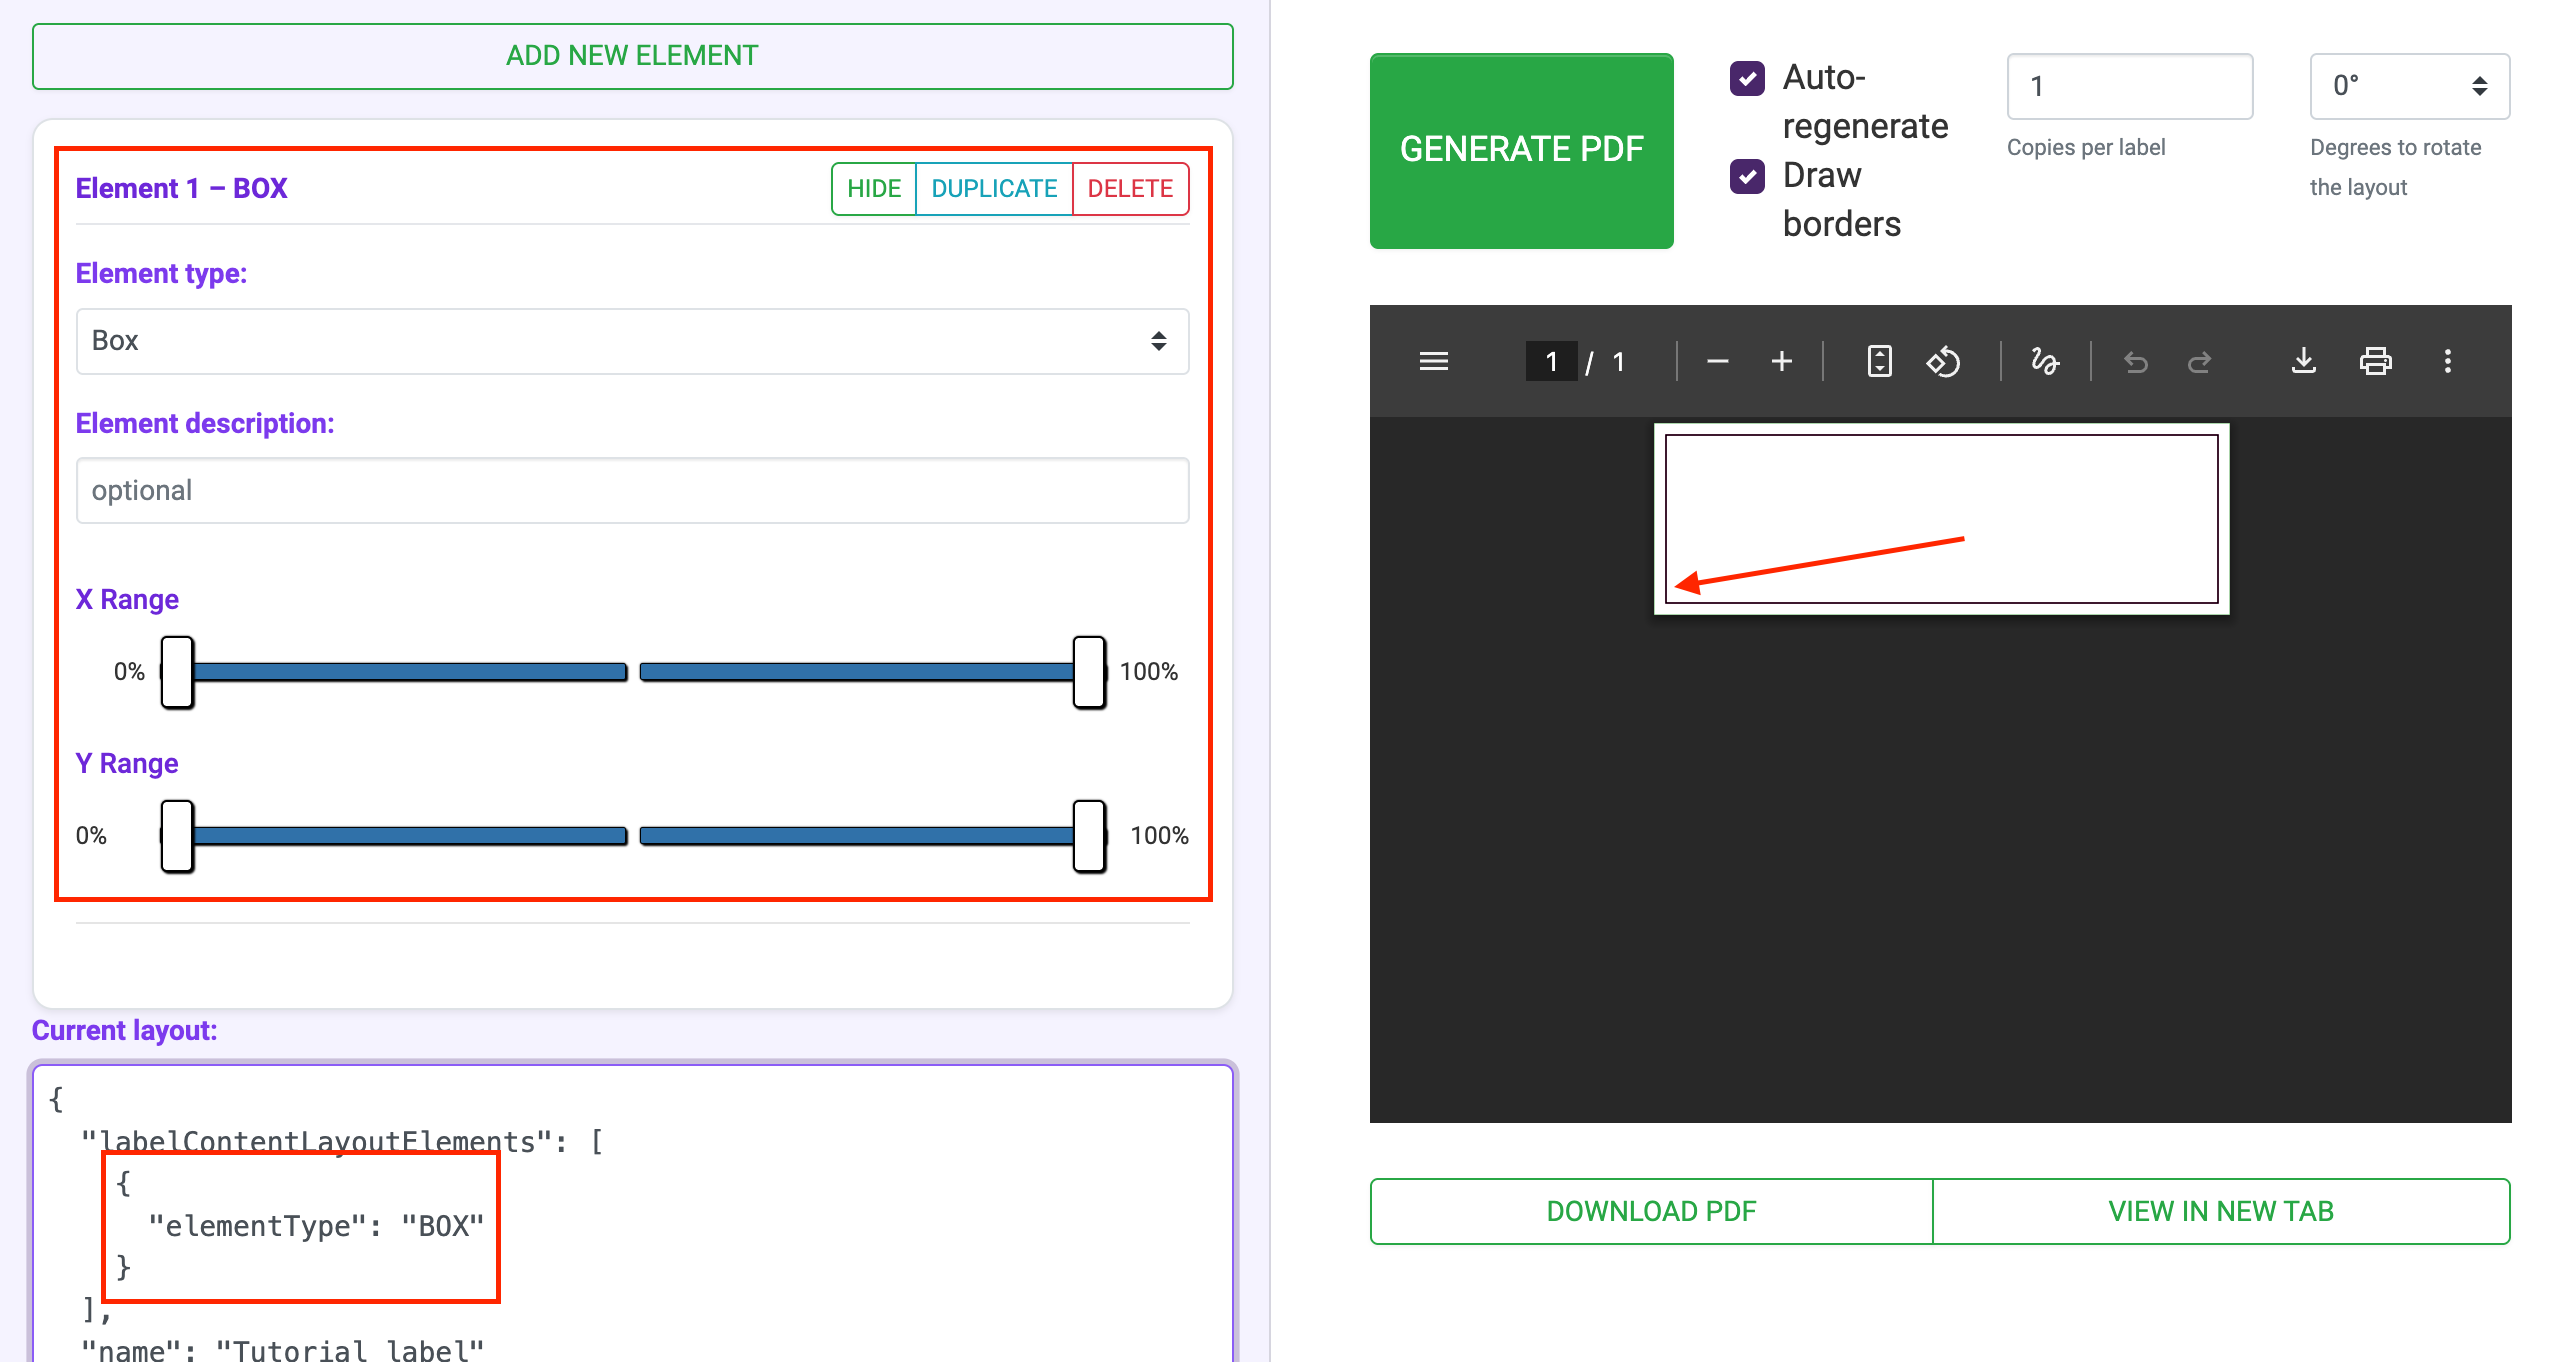
Some things to notice:
- A BOX card appears in the left pane, with some controls.
- Each label now has a box drawn around its border, with the same dimensions as the debug border.
- The layout config at the bottom shows the new layout element data as it is sent to the API
Layout Element Sizing
Set the box's X Start to 50% and X End to 100%, then set Y Start to 0% and Y End to 66%
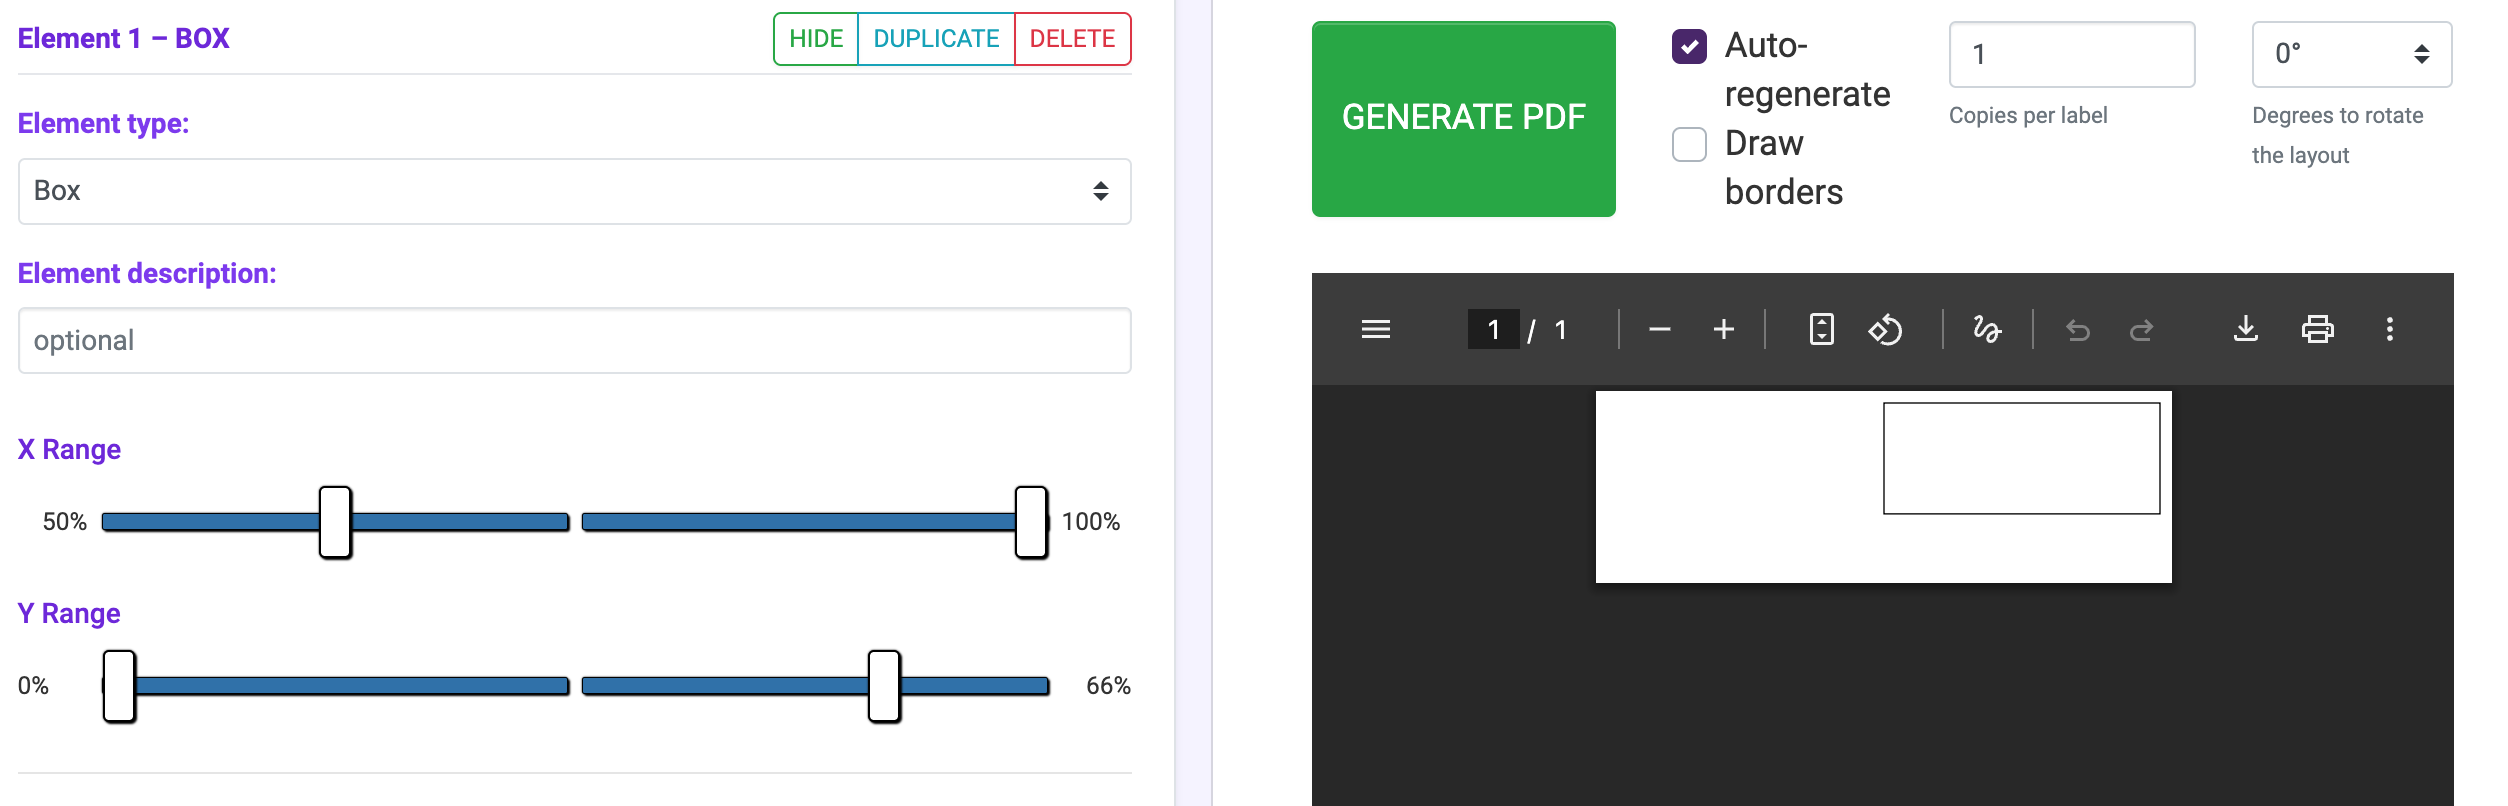
You can also position elements by dragging them directly in the Position & Size preview above the layer stack. Drag the middle of an element to move it, or an edge to resize it. Typing exact percentages and dragging do the same thing.
- An X range of 50%-100% means that only the right 50% of the printable area is used.
- A Y range of 0%-66% means that only the top 2/3 of the printable area is used.
With these four values, you can make a layout element cover any rectangle.
Layout elements are not sized by a fixed distance like "1 inch", but by percentage of total printable width and height. This allows the layout to shrink and grow to fit the template. If you have a 3x1 template and decide it's too small, you can just switch over to a 4x2 template, and the layout will automatically grow to fill that space.
Adding Label Text
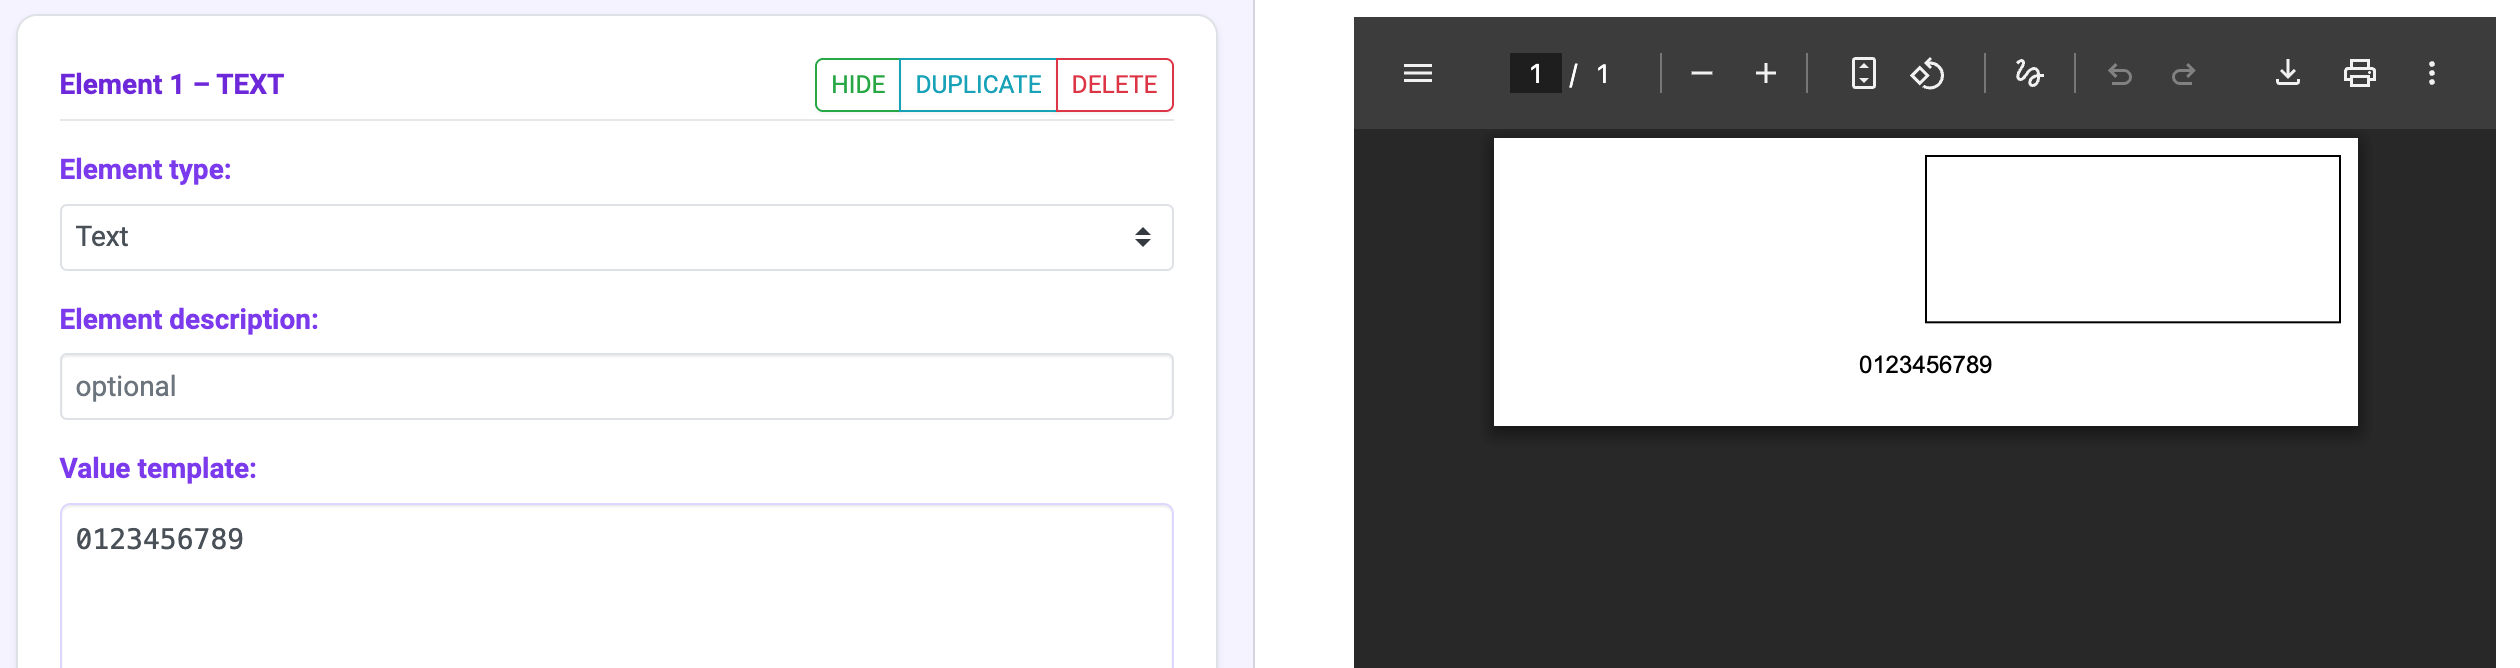
Let's add a text element at the bottom of our label.
- Click the + button at the top of the layer stack and choose
Text - Set Y Start to
67%and Y End to100%to occupy the bottom 33% of the printable area. - Leave X Start at
0%and X End at100%to occupy the full width. - Set Value template to
0123456789(more on this later)
After the PDF regenerates, you should see the following:
"Textual" layout elements are used for displaying text on a label. There are two primary textual layout elements:
Text: used for displaying text as a wrapped paragraphTable: used for displaying a table made up of rows/columns of cellsAs with all other layout elements, textual elements are restricted to a sized rectangle container (controlled with X Start/X End and Y Start/Y End).
Styling Text
We haven't set a value for font size, so T3 is using the default font size of 6. This is too small, we'd like the font to be larger.
Set Font size to 36 and you should see the following:

The text is now overflowing its container. Read on to learn how to auto-resize text.
Textual elements have multiple settings to control text appearance:
- Font family
- Font size
- Line spacing
- Horizontal/vertical text alignment
- Text resize strategy
Auto-resizing text
To fix the text from overflowing, change the Resize Strategy to Shrink Text.
You should now see the text has been shrunk to fit inside its container:

When generating a series of labels, the text content between labels will differ, but you may not want it to overflow its container.
Textual elements allow you to specify a resize strategy, which selects a strategy to be deployed when T3 detects text overflows its container.
Allow Overflow: text will overflow its container with no interventionShrink Text: T3 will progressively reduce font size until the text fits within its container, or until a minimum font size is reachedTruncate Text: T3 will progressively remove letters from the end of the text and append an ellipsis (...) until the text fits within its container, or until a minimum text length is reachedNote: if text does not overflow its container, T3 will leave it alone.
Next Steps
- Continue to part 3, Adding Data to a Label.
- Back to part 1, Tutorial.
- Every element and styling option: Label Layouts.